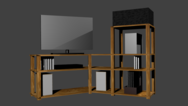
Self-made wooden oak-effect media unit
When my girlfriend and I moved to Stevenage we soon realised that there is no other way than to put the TV in front of the couch. So far so good. Unfortunately for us the wall opposite to the couch had an awkward 61.something angle in it. Additionally, we figured that it would be nice to have all media appliances in one place. That meant we were actually not looking for small TV stand but for something offering enough space for the TV, a stereo, a fairly large turntable, DVDs, another speaker etc. I guess you can see the problem: no ready-made media unit of the required size would ever be able to fit alongside the angular wall without wasting a lot of space behind it.
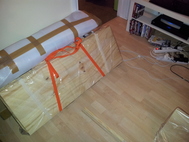
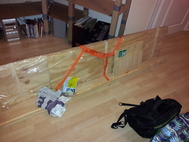
After giving the whole thing some thorough thought I decided to build the media unit myself. Normally I would have gone to the next DIY store to buy the necessary wood and just build the piece without too much planning. But this time I did not even know what the best shape would be. So I gave it some more time and started out to create various 3D models with Blender. After experimenting a bit with different layouts we eventually found one that we liked and that would offer enough space. Feel free to download the Blender model and use it as you like. To be absolutely sure that I did not some kind of stupid mistake when I designed the model and to see how it would integrate into the room I made a prototype out of remaining moving boxes that I taped roughly into the right shape. If it had been more stable I might have been tempted to keep it and stop the project at this point.
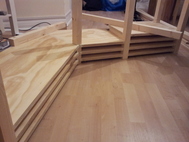
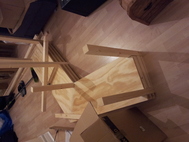
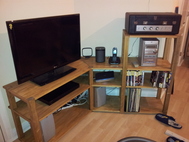
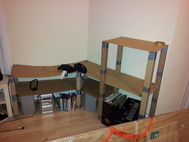
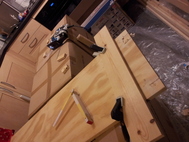
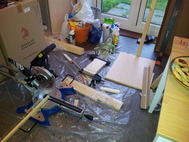
Finally time to get to the DIY store! To keep the costs down I decided to buy a large sheet of plywood and to use some oak dye to match the dining table we had bought by then. Sawing the boards was straight forward until it was time to get the angle right. Of course it was only after I had sawn the boards that I noticed how much influence 0.5 ° inaccuracy have on a distance of just 30 cm. However, the bottom-line is that the angle in my boards did not match the angle of the wall. The lesson I learned is that one should always measure and mark in centimeters and only calculate in in degrees – as long as the precision of the calculator is high enough. To correct the error in the angle I had to make the unit slightly shorter than planed but that was not too much of a hassle. After sanding and dying the boards and legs I applied a coat of bees wax so that everything would be shinning nicely. Moreover, it would protect the wood from watermarks and stains making it easier to keep it clean. The final assembly of all parts was no problem at all and (amazingly) the media unit fits into the corner in the wall and has enough space for all appliances.
