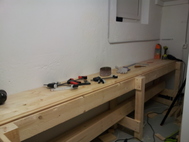
How to build a workbench in 60 seconds
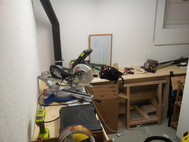
After moving to Zurich I was able to secure the cellar for myself to do some woodworking. Though, before doing some more “serious” work the first project was to build a large workbench. Buying one just isn’t an option if you look at the prices. And to be honest, for the few things I’m doing I don’t need a high-end 100% flat surface.
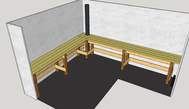
My first step was to make a 3D model of the workbench to get an idea what would fit and my plan was to use it later as kind of an assembly manual to not forget anything. After trying various free software solutions SketchUp turned out to be the most easy to use solution. I take some time to get used to it but afterwards you can achieve good results without spending too much time.
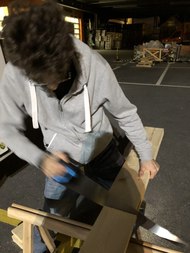
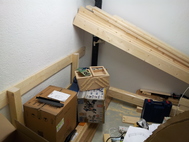
Building the workbench was mostly straightforward. I used a lot of cheap construction wood since I was to concerned to have a fully professional workbench. For that the space is anyway much too small. Due to this, actually the hardest part was to re-arrange the unassembled parts every time a finished part had to be put in place. But not only the space in the cellar was too small but already the transport of the wood from the DIY store turned out more difficult than initially anticipated. You simply can’t fit 4.2m long panel boards into a standard delivery van. Luckily I had a tenon saw with me and didn’t actually require the full length for the workbench.

