Video projector ceiling mount
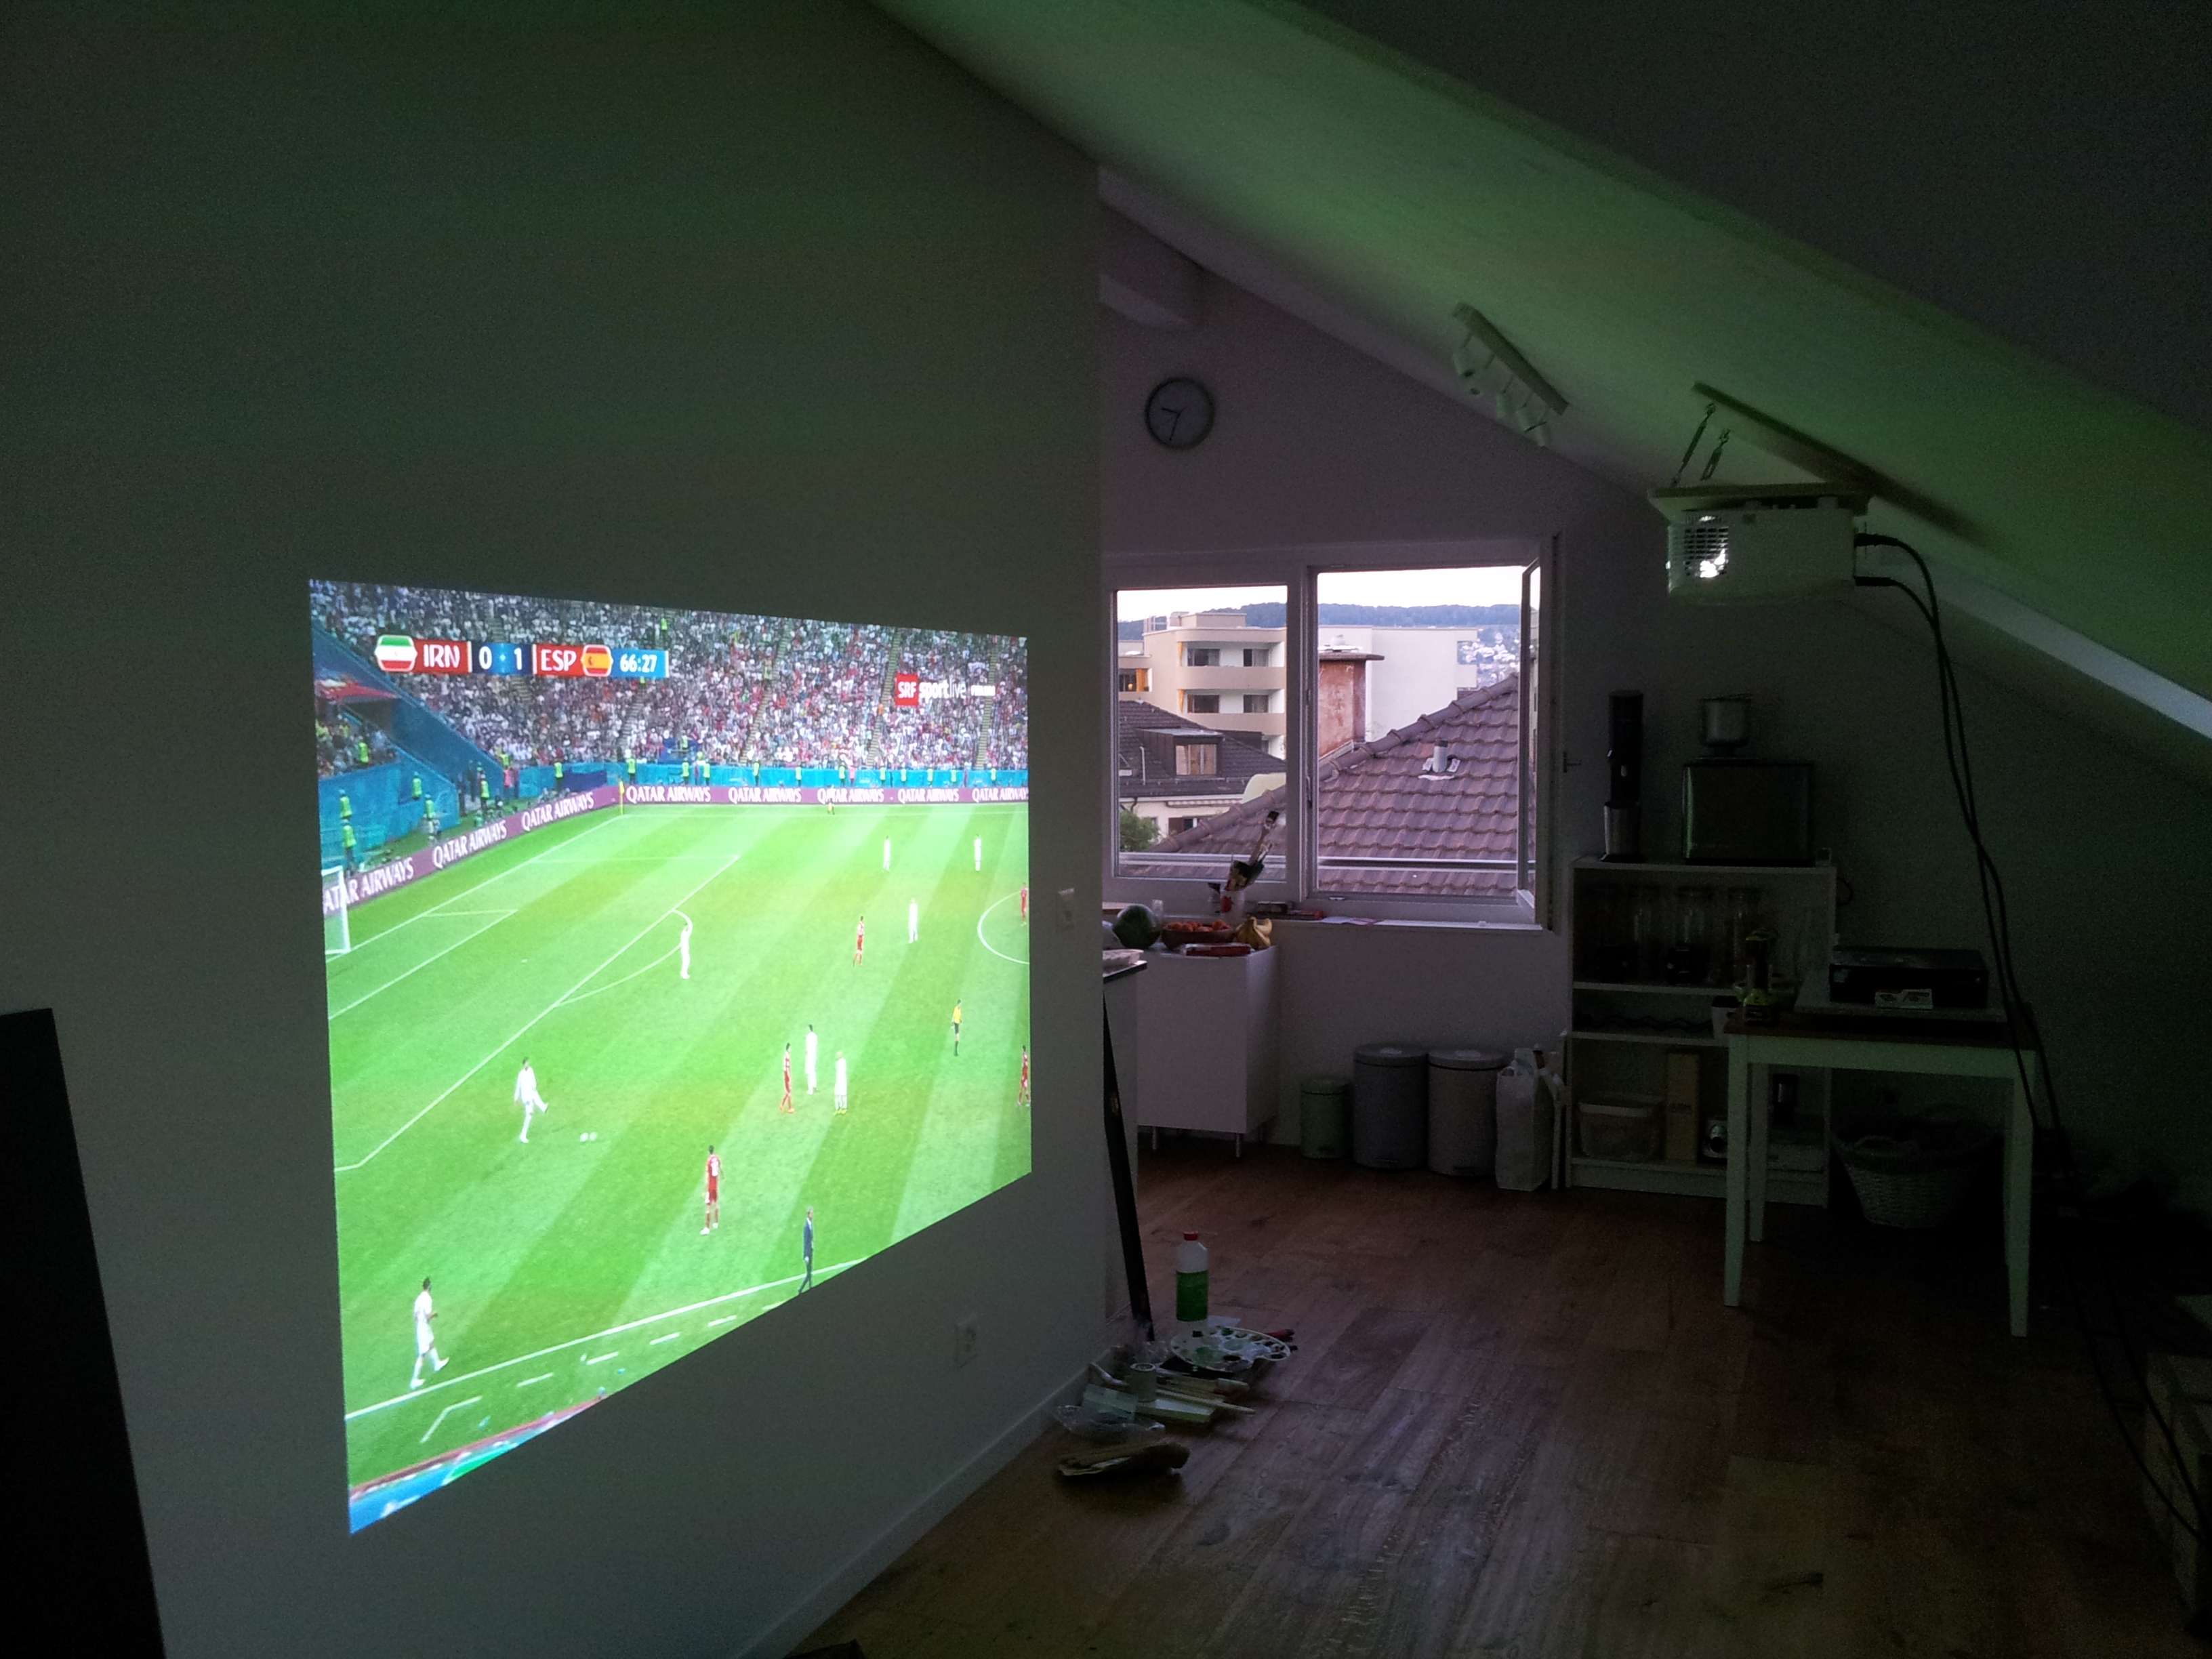
Can there be anything better than having your own private public screening experience during the football World Cup? Well, probably yes. But still, having a video projector sounds like a nice idea to watch movies from time to time and of course to have an immersive feeling while playing with a RC flight simulator like aerofly RC7.
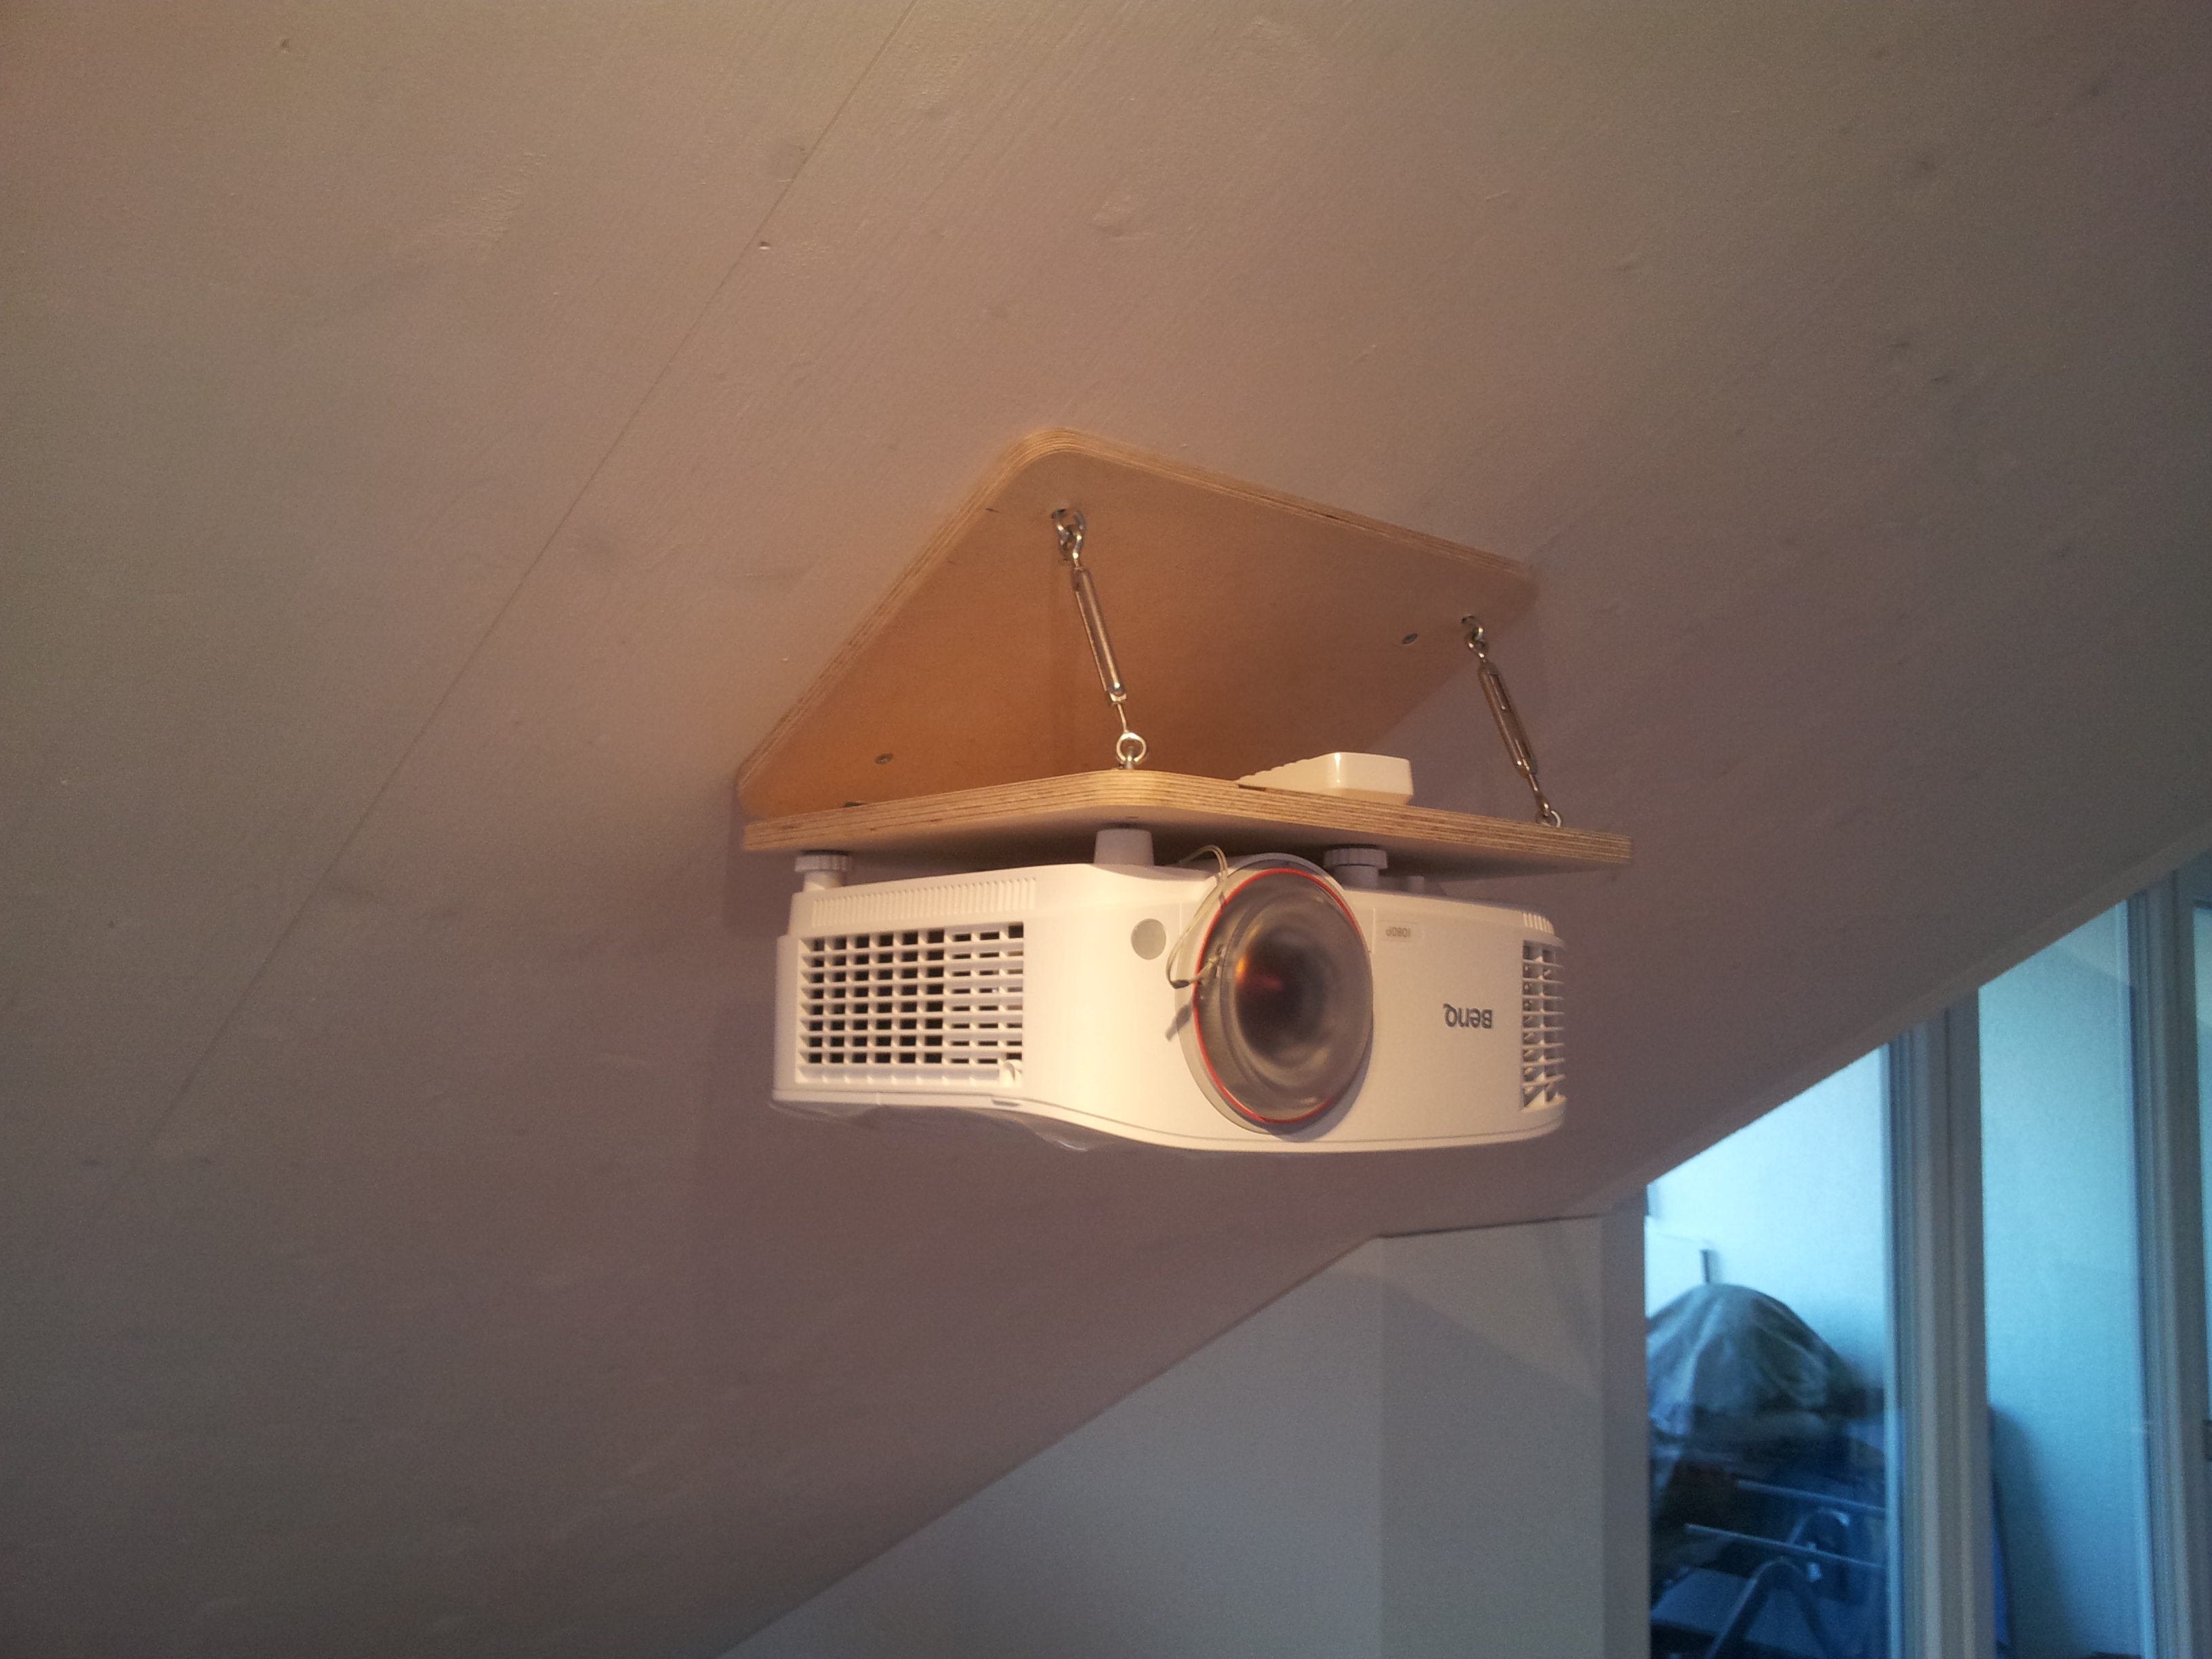
The biggest problem was the short distance between wall and the place at the ceiling where I wanted to mount the projector. So in the end I had to spent a bit more money to get of the Short-Throw projectors instead of a normal one. After reading many reviews and data sheets I finally decided to buy the BenQ TH671ST. From a price point of view it was ok-ish but more importantly the projection ratio was a very good fit for the distance I had in mind and it also comes with an optical zoom on top. After having watched a few football games and some TV series I’m still happy with the projector. Even the integrated speaker is definitely decent enough for football games and might also work for the occasional movie if you’re like me not a sound fanatic. So far the only negative point is the remote control. It has separate buttons for turning the projector on and off. And worse, the off button actually bears the symbol for a combined on-off button. ;-) 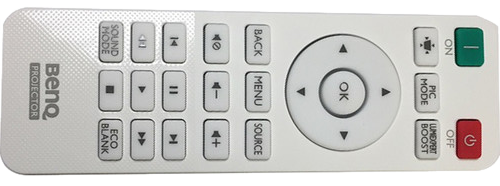
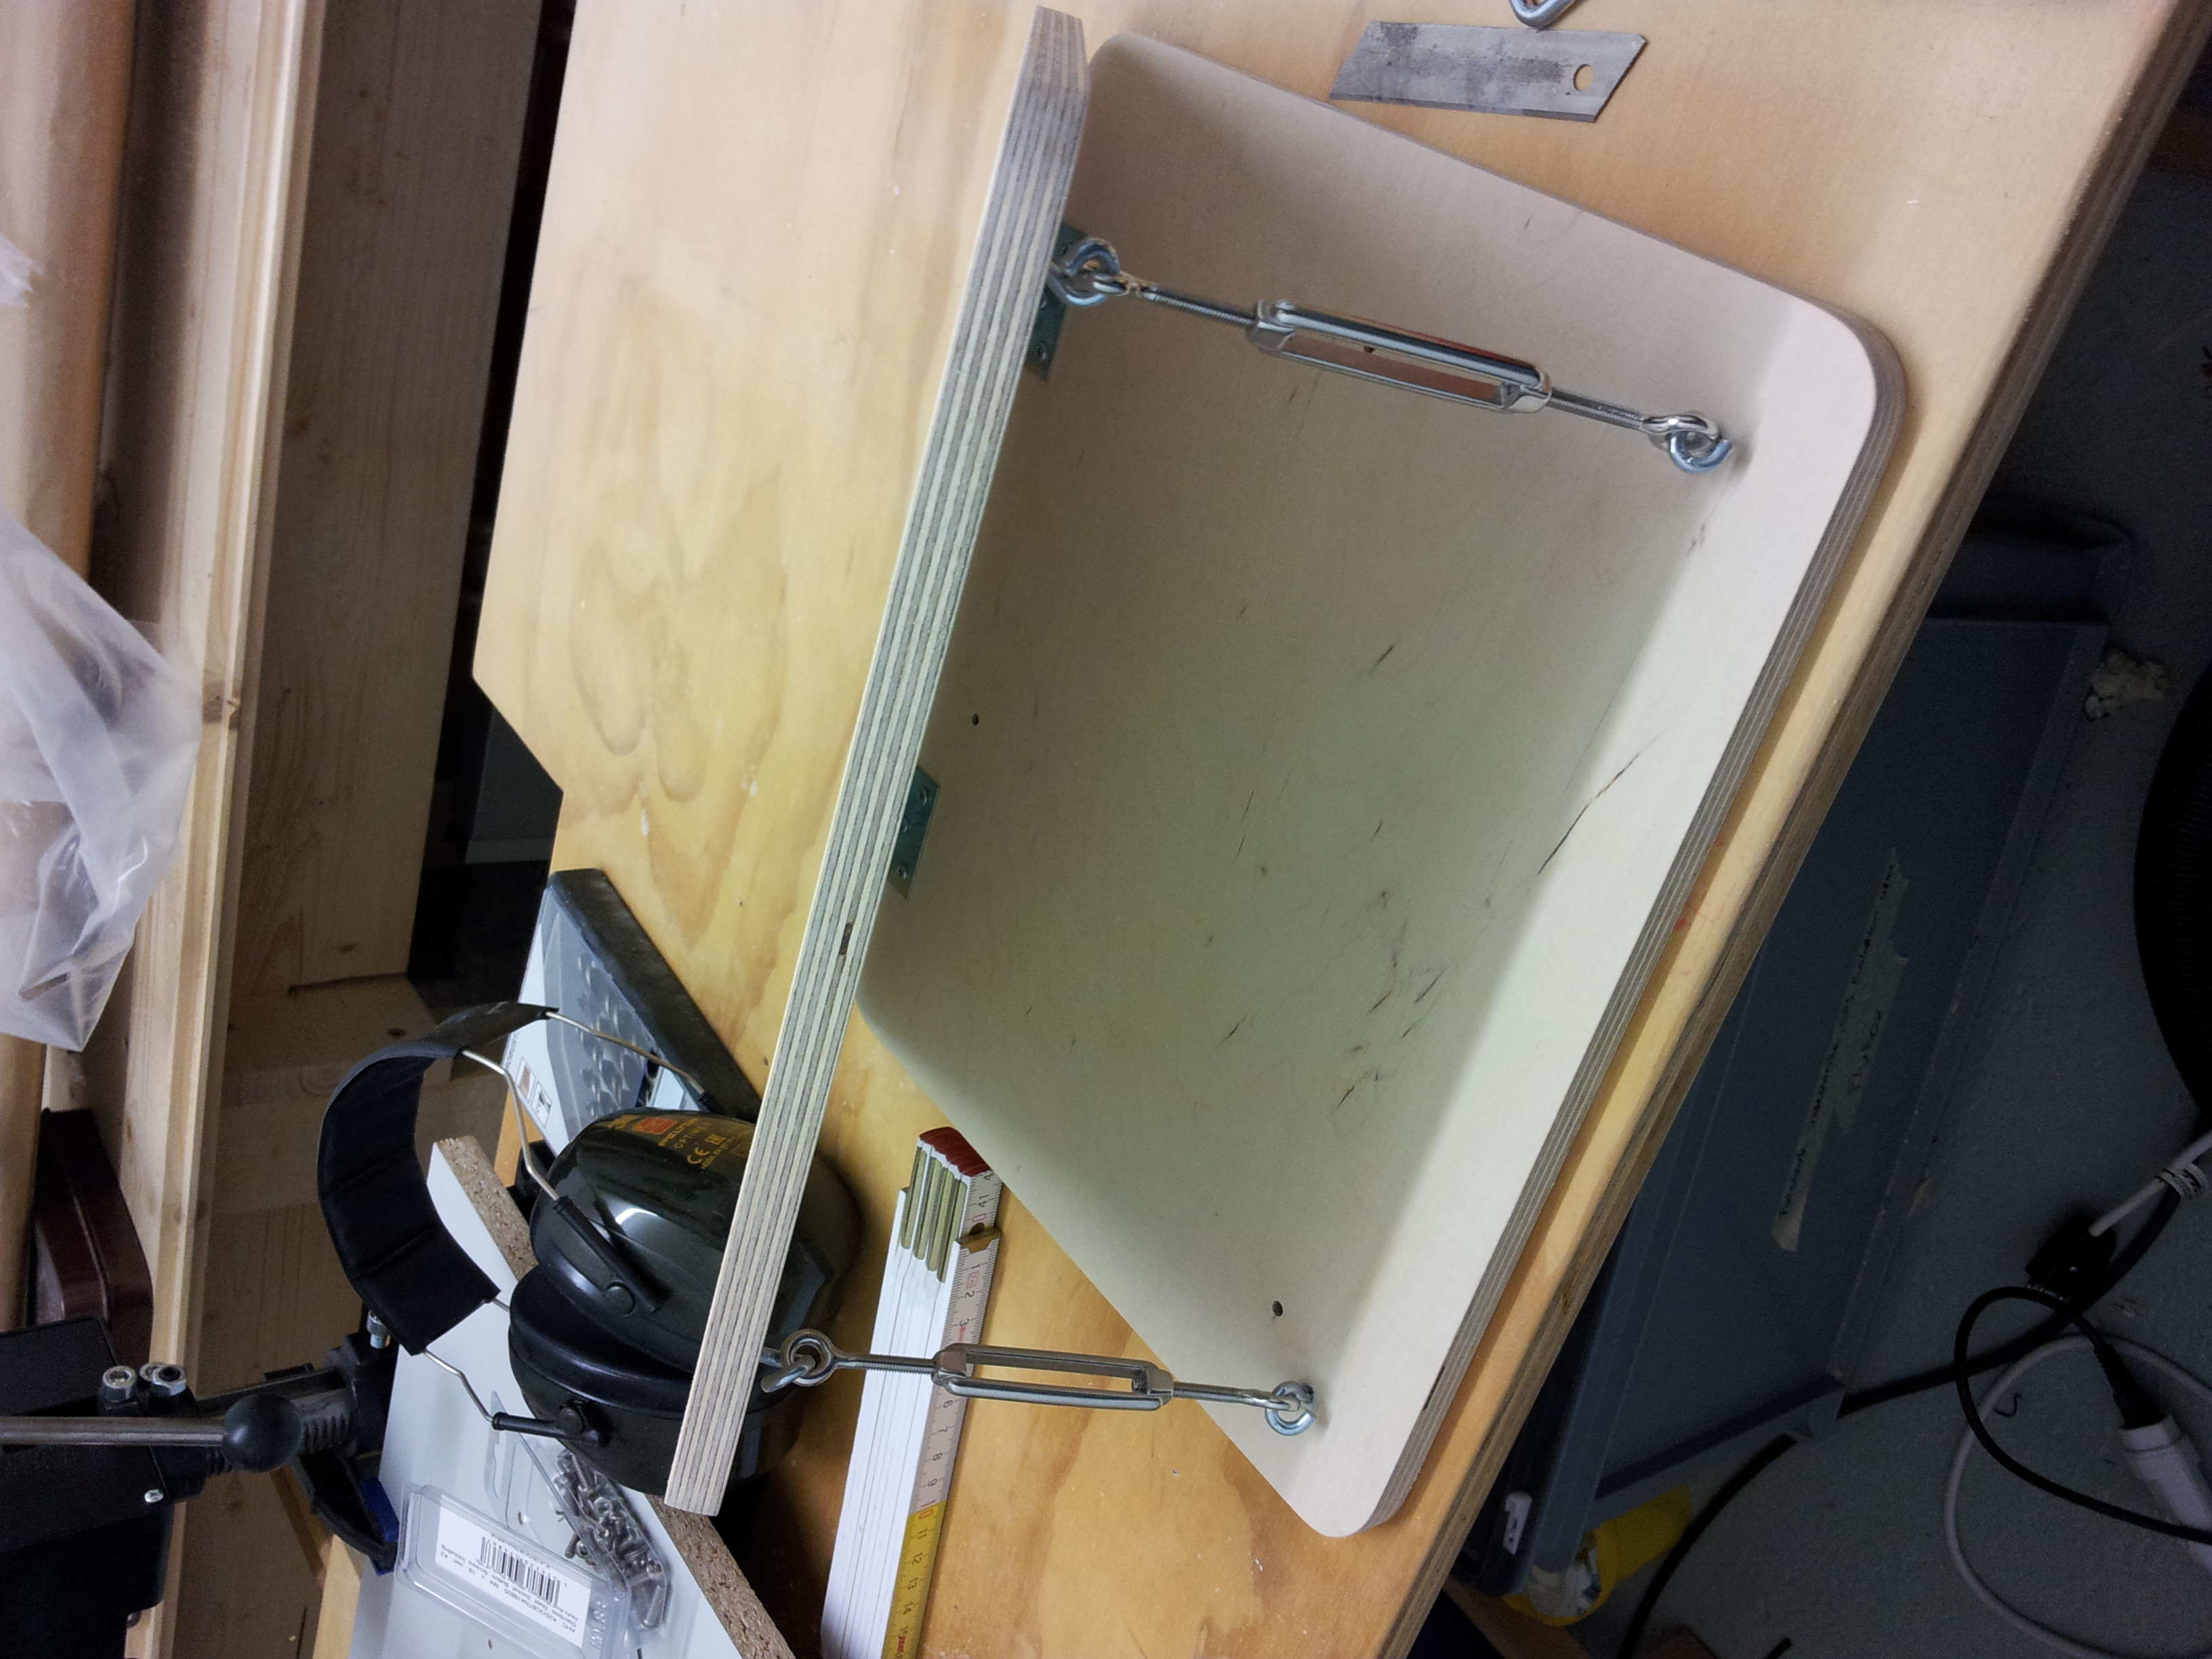
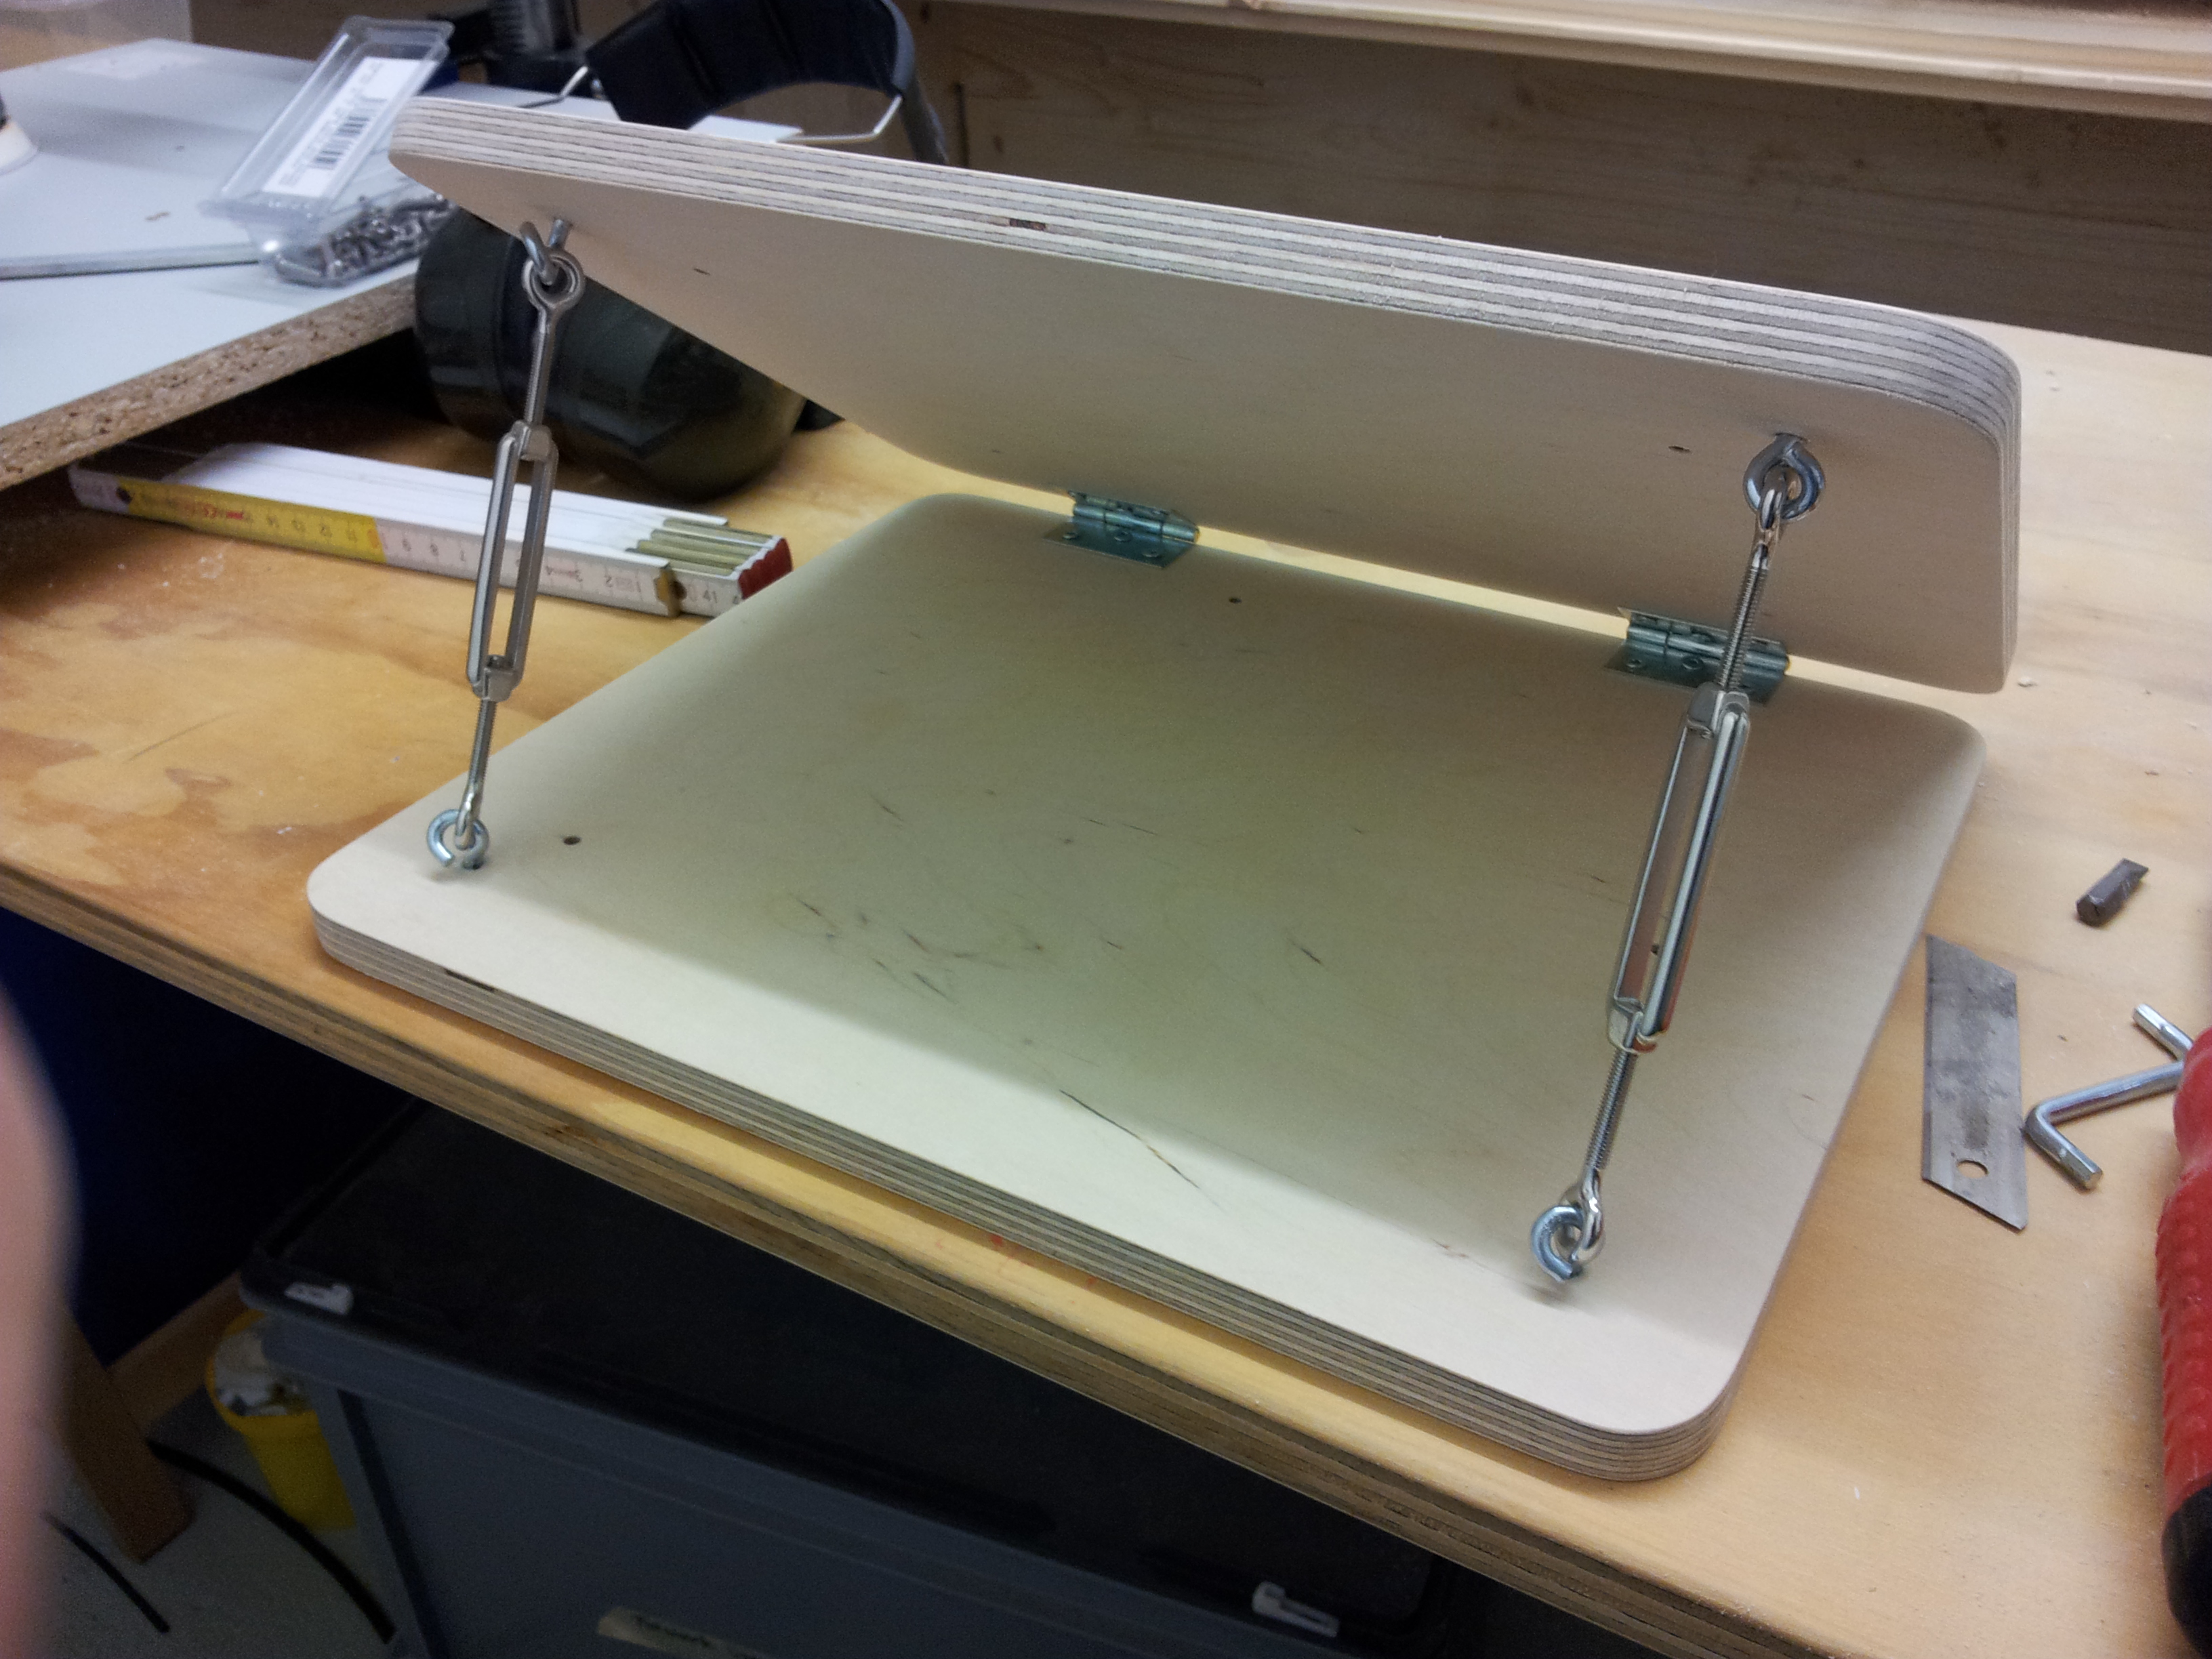
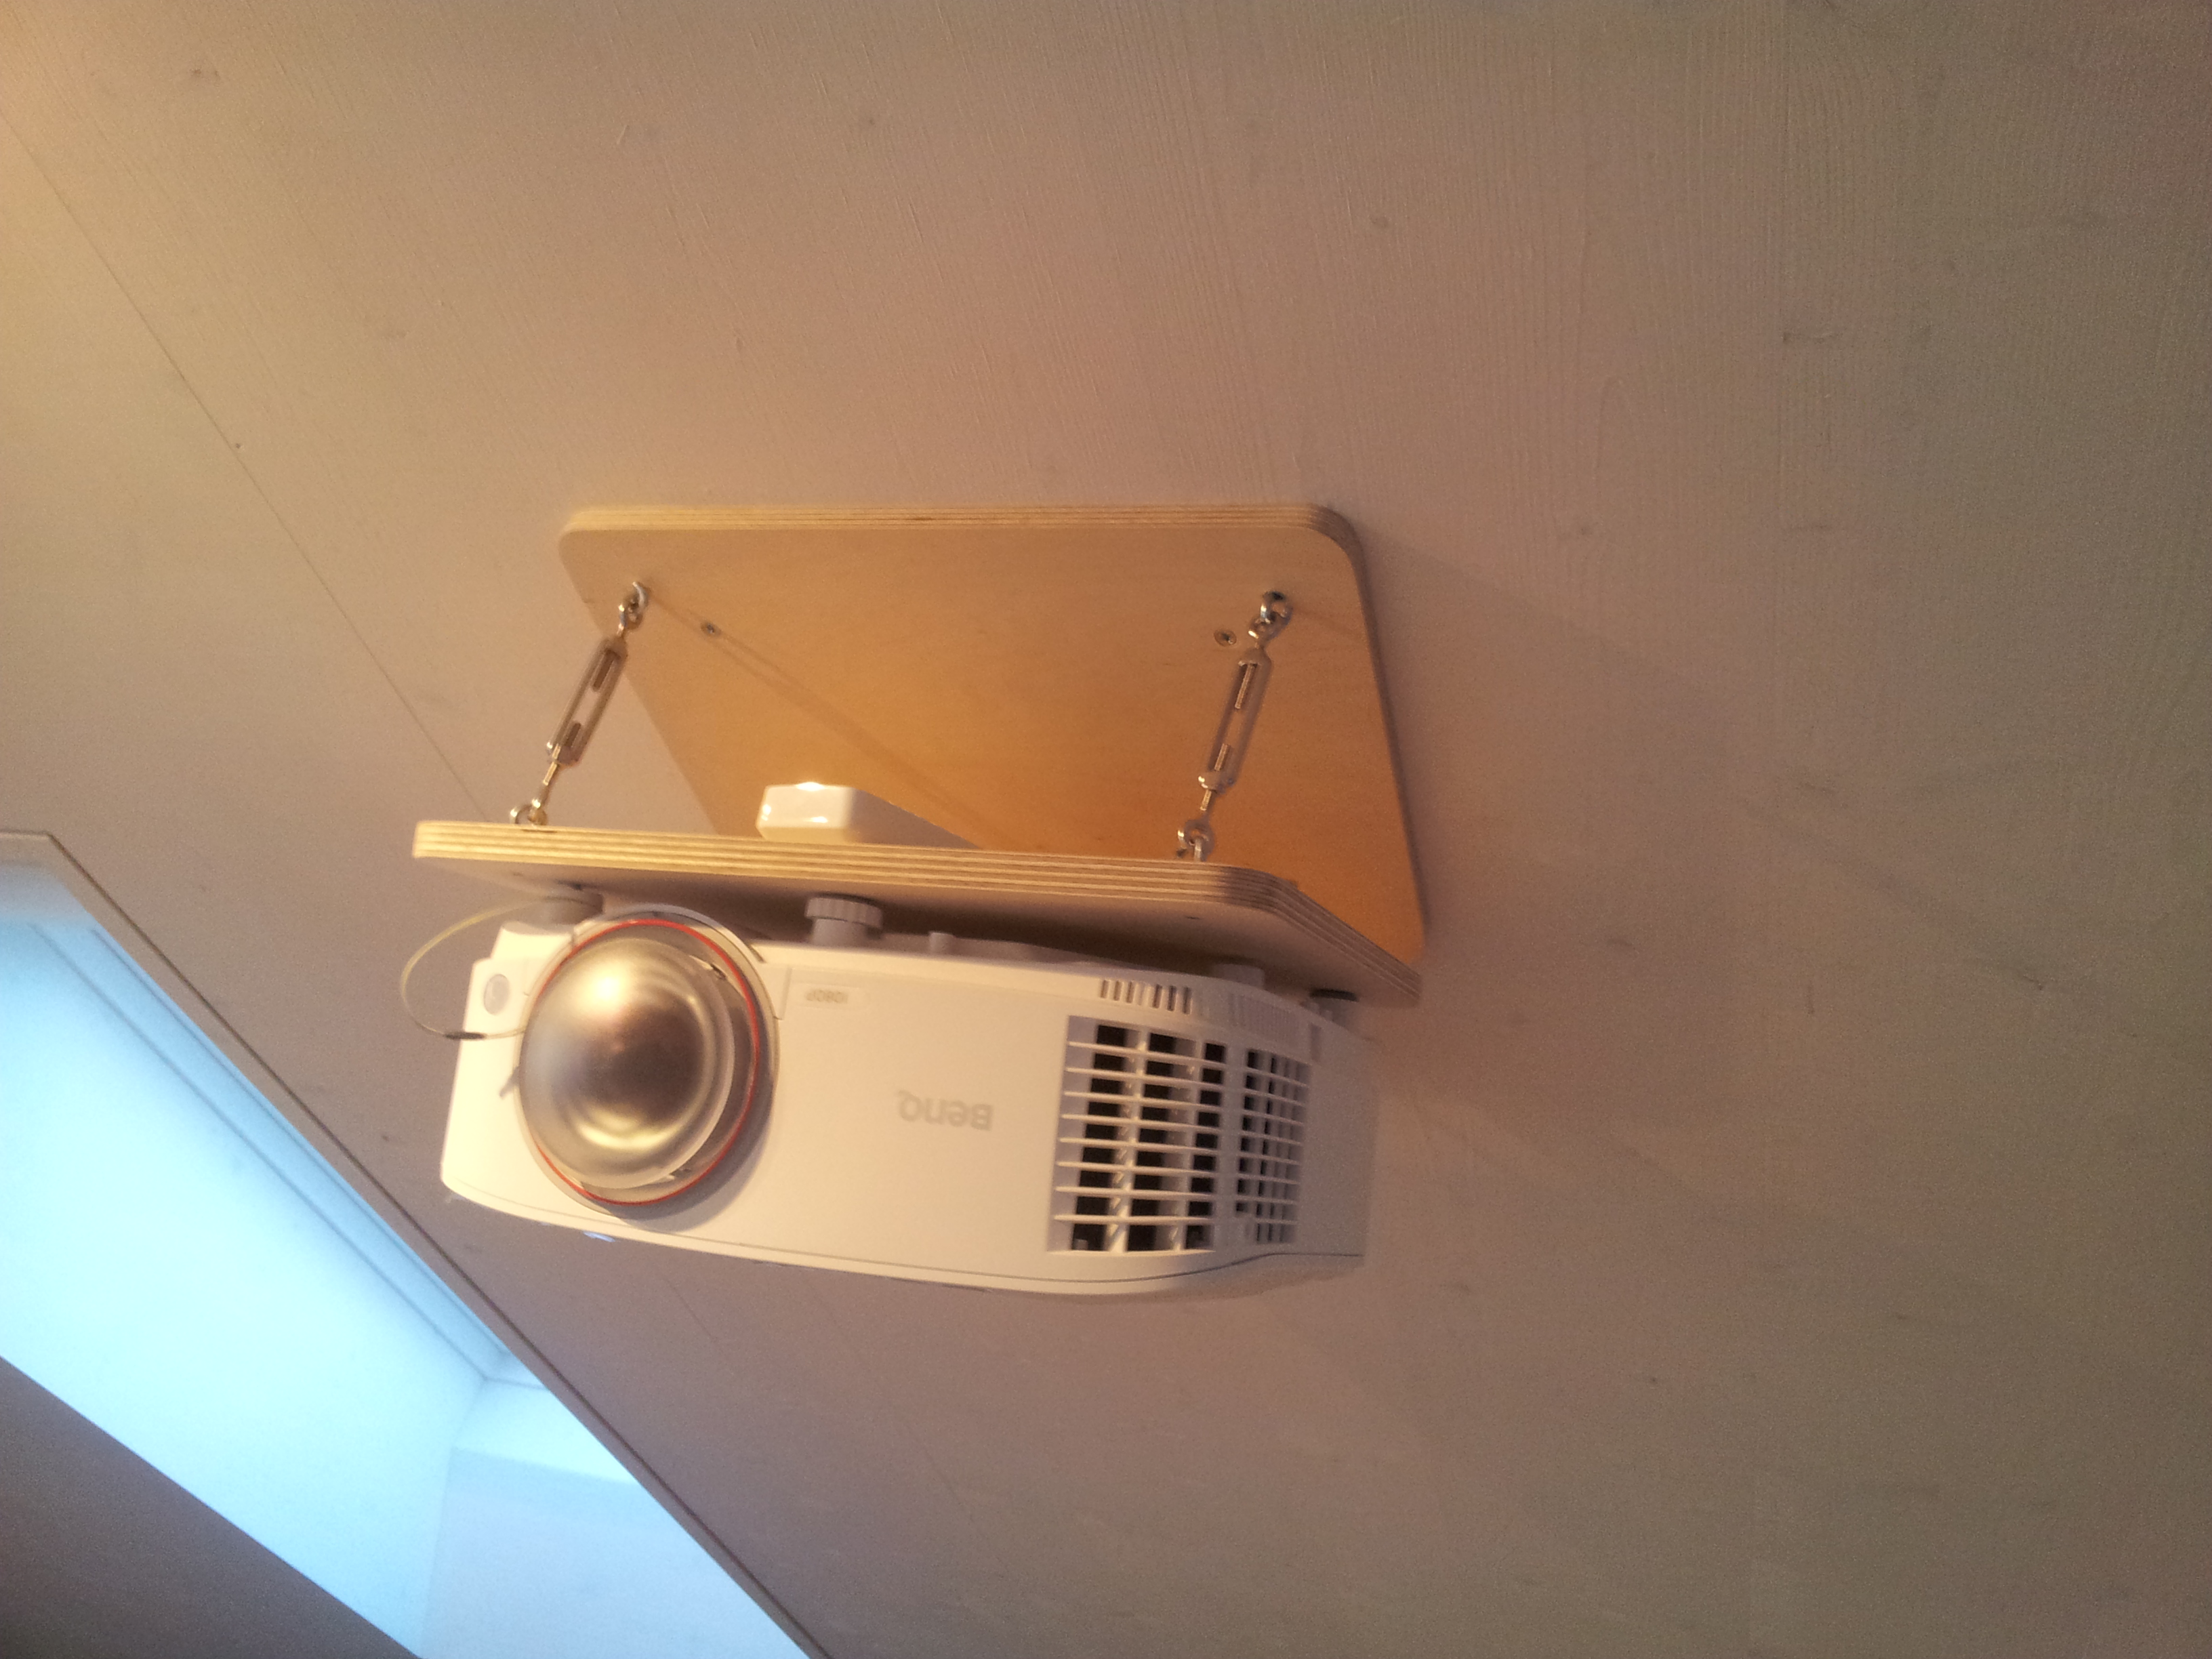
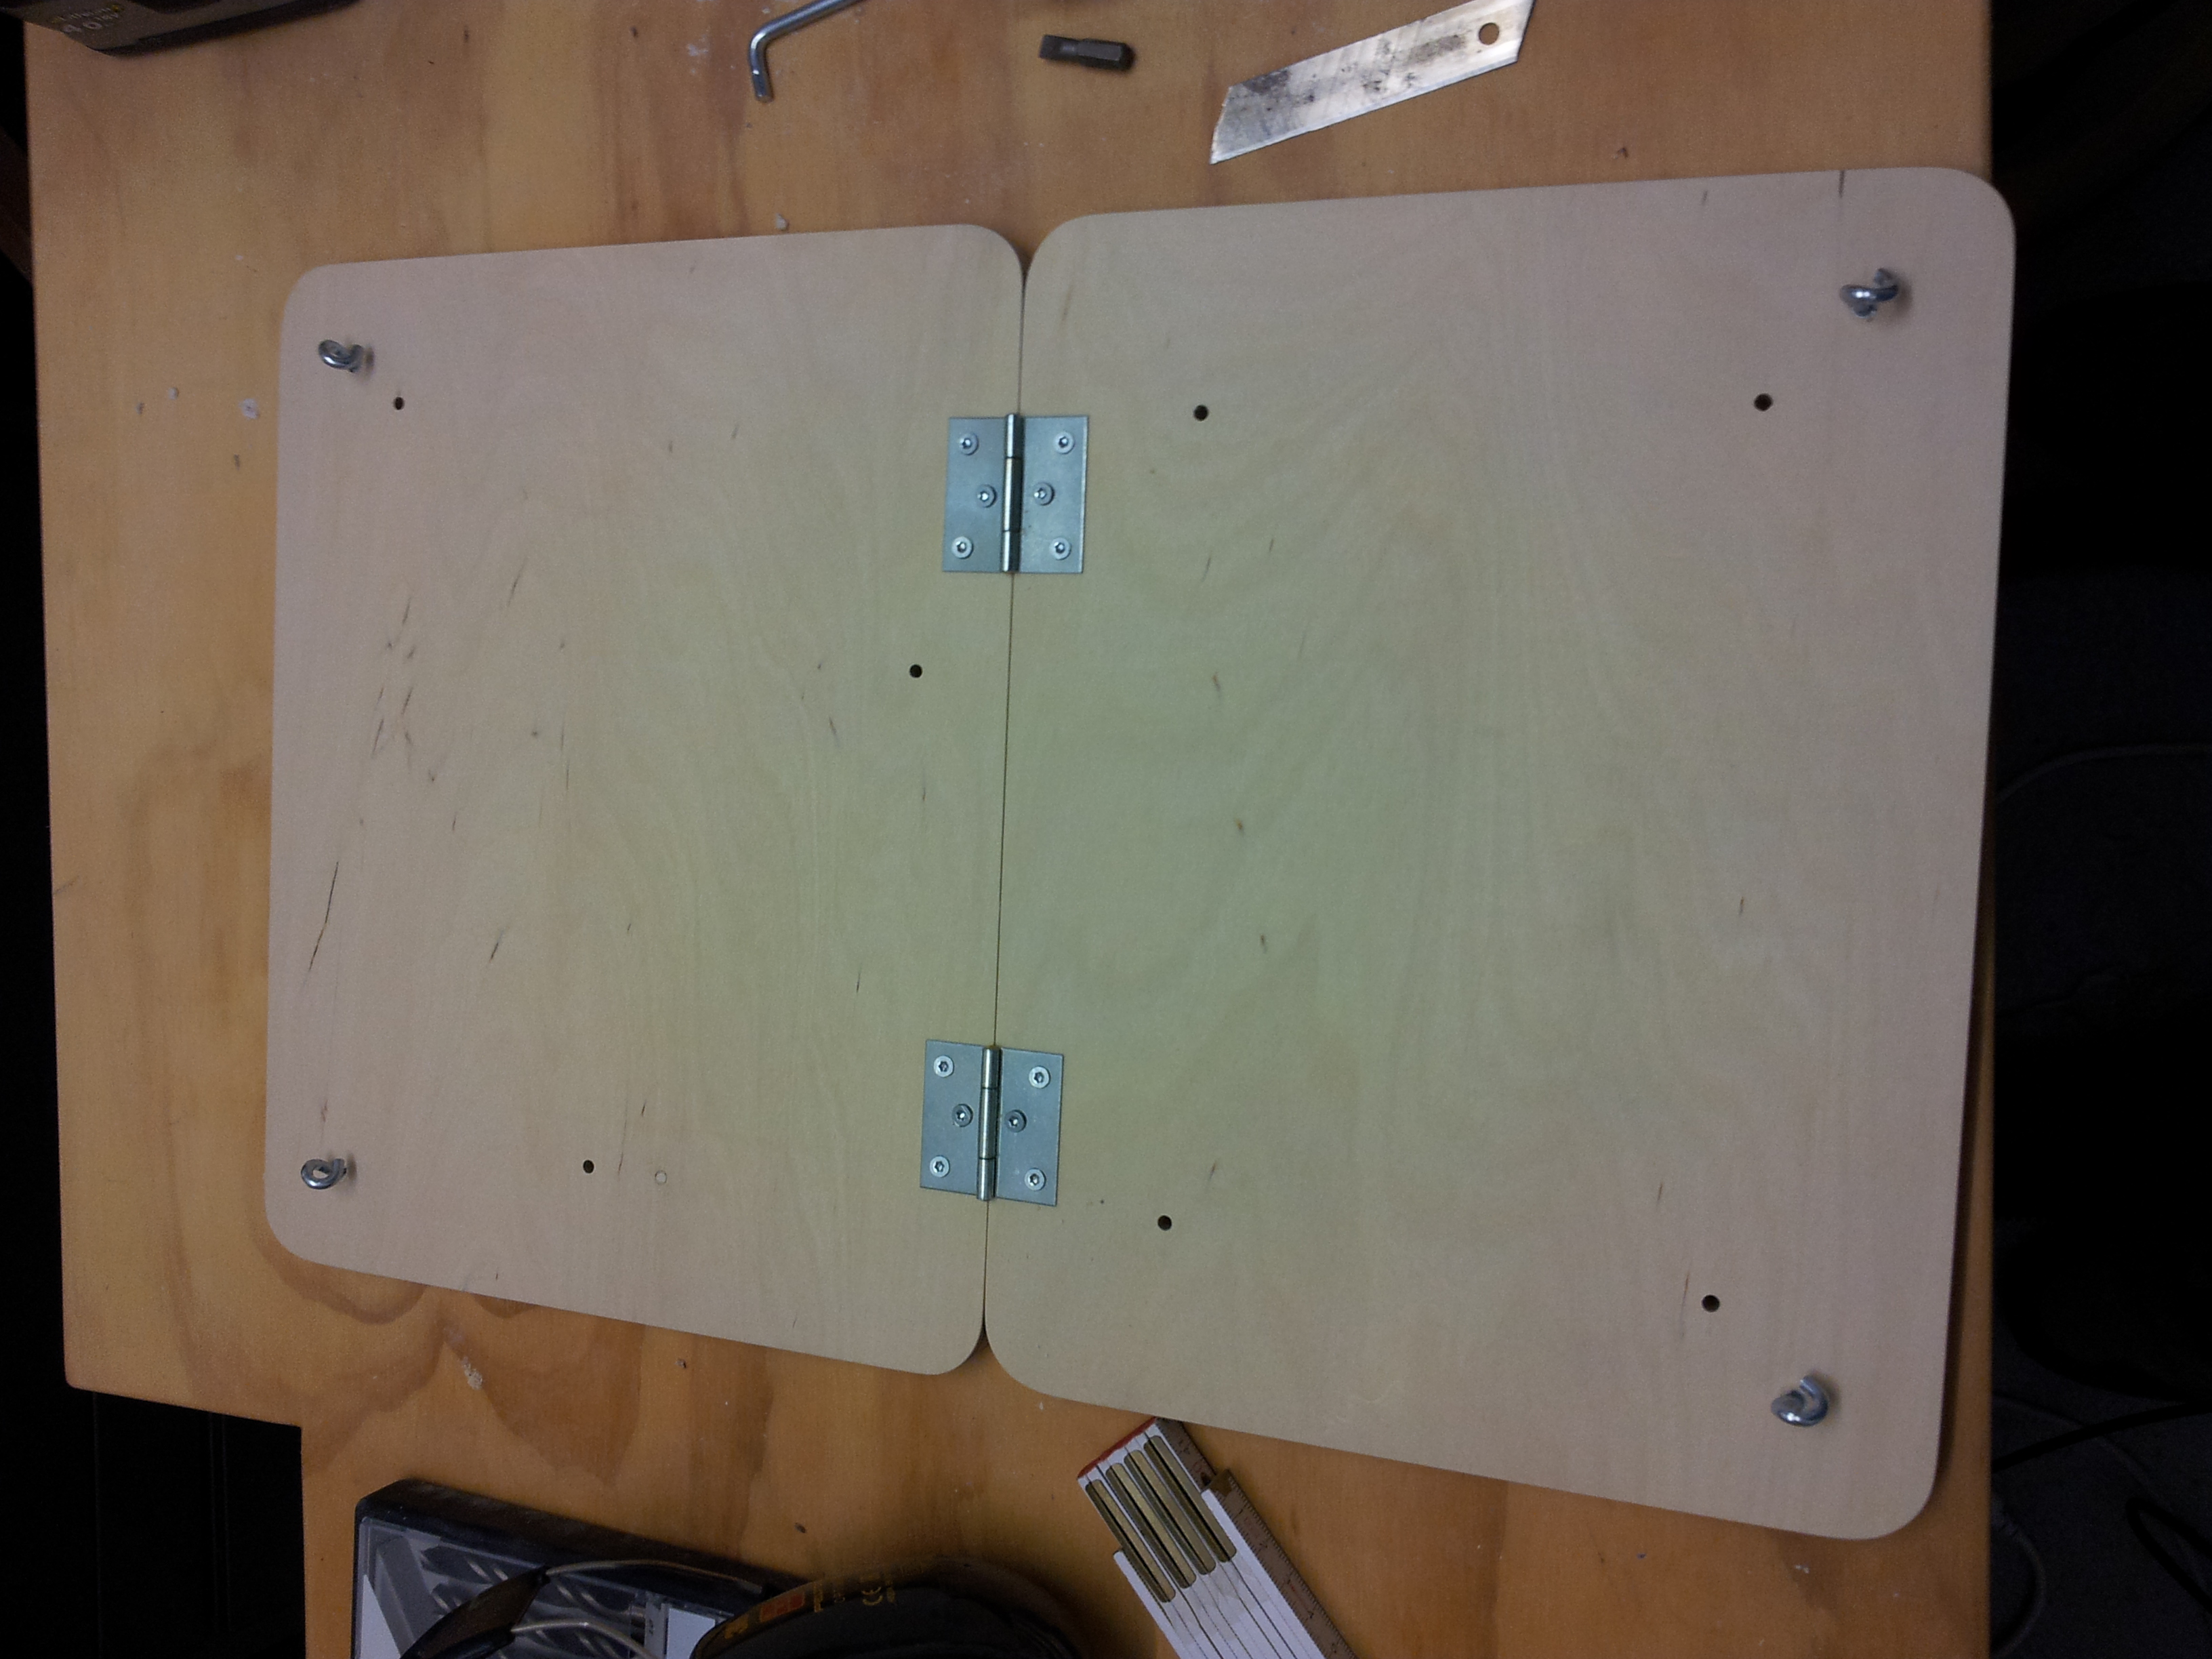
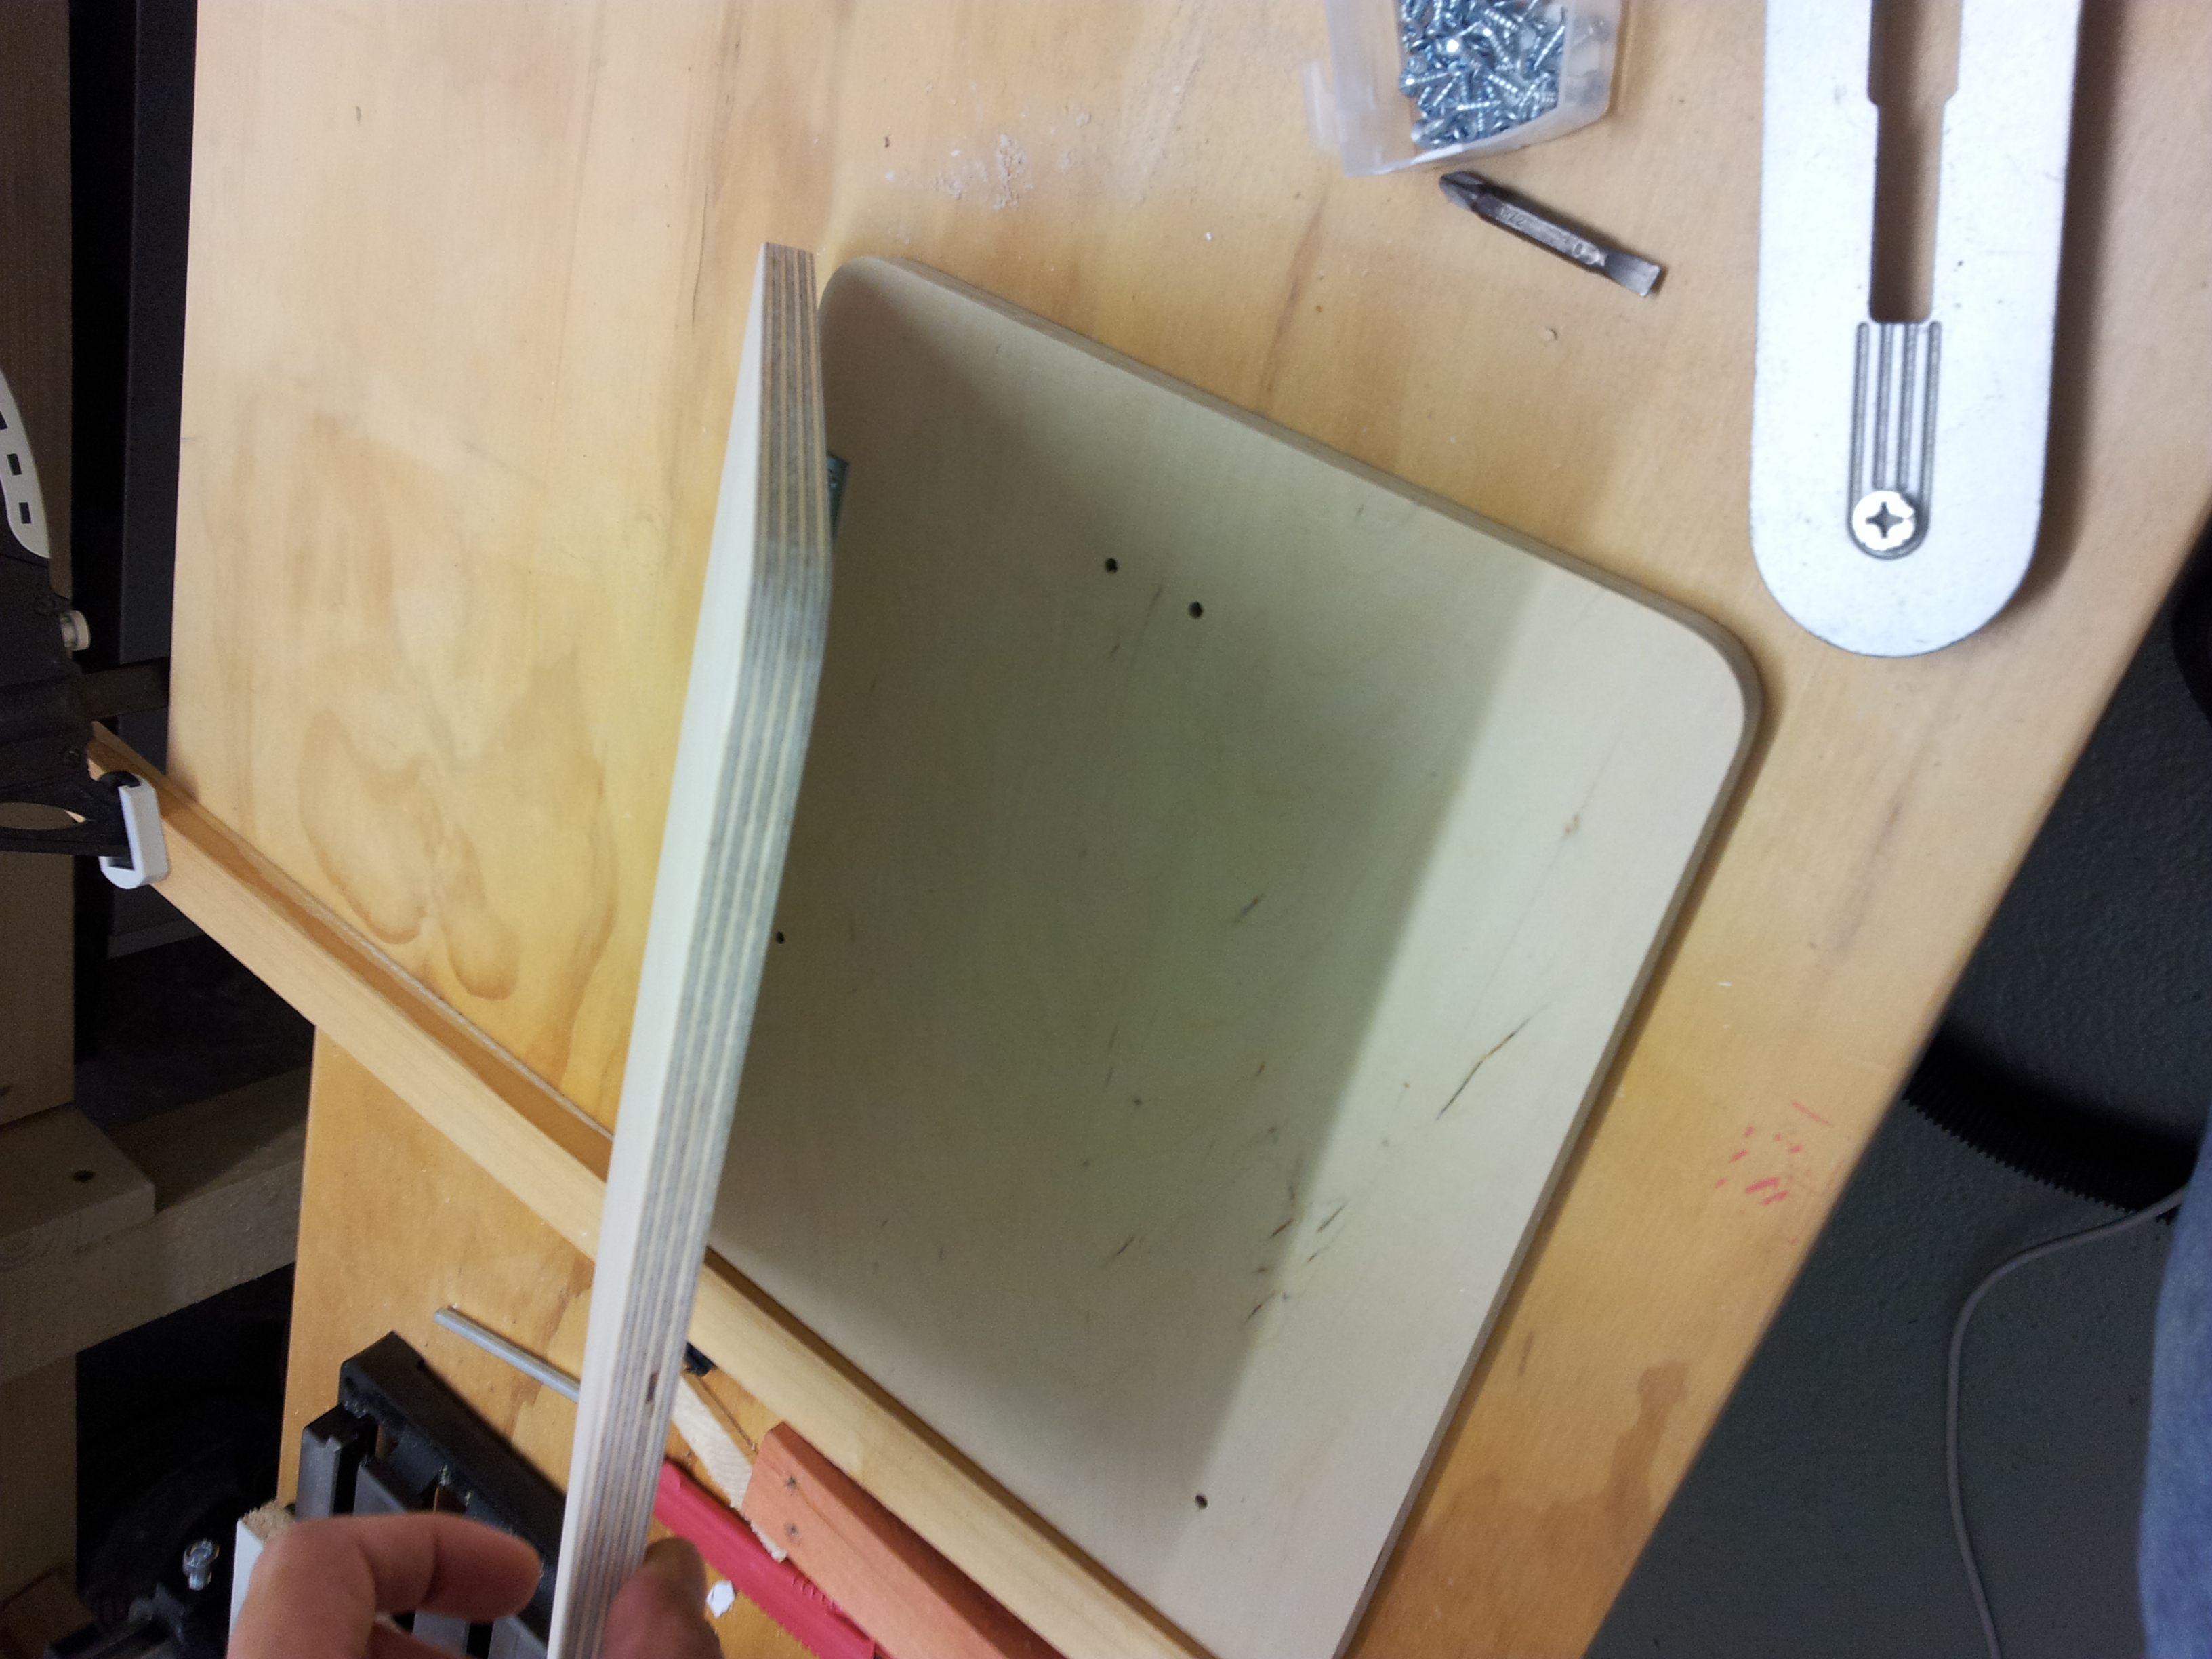
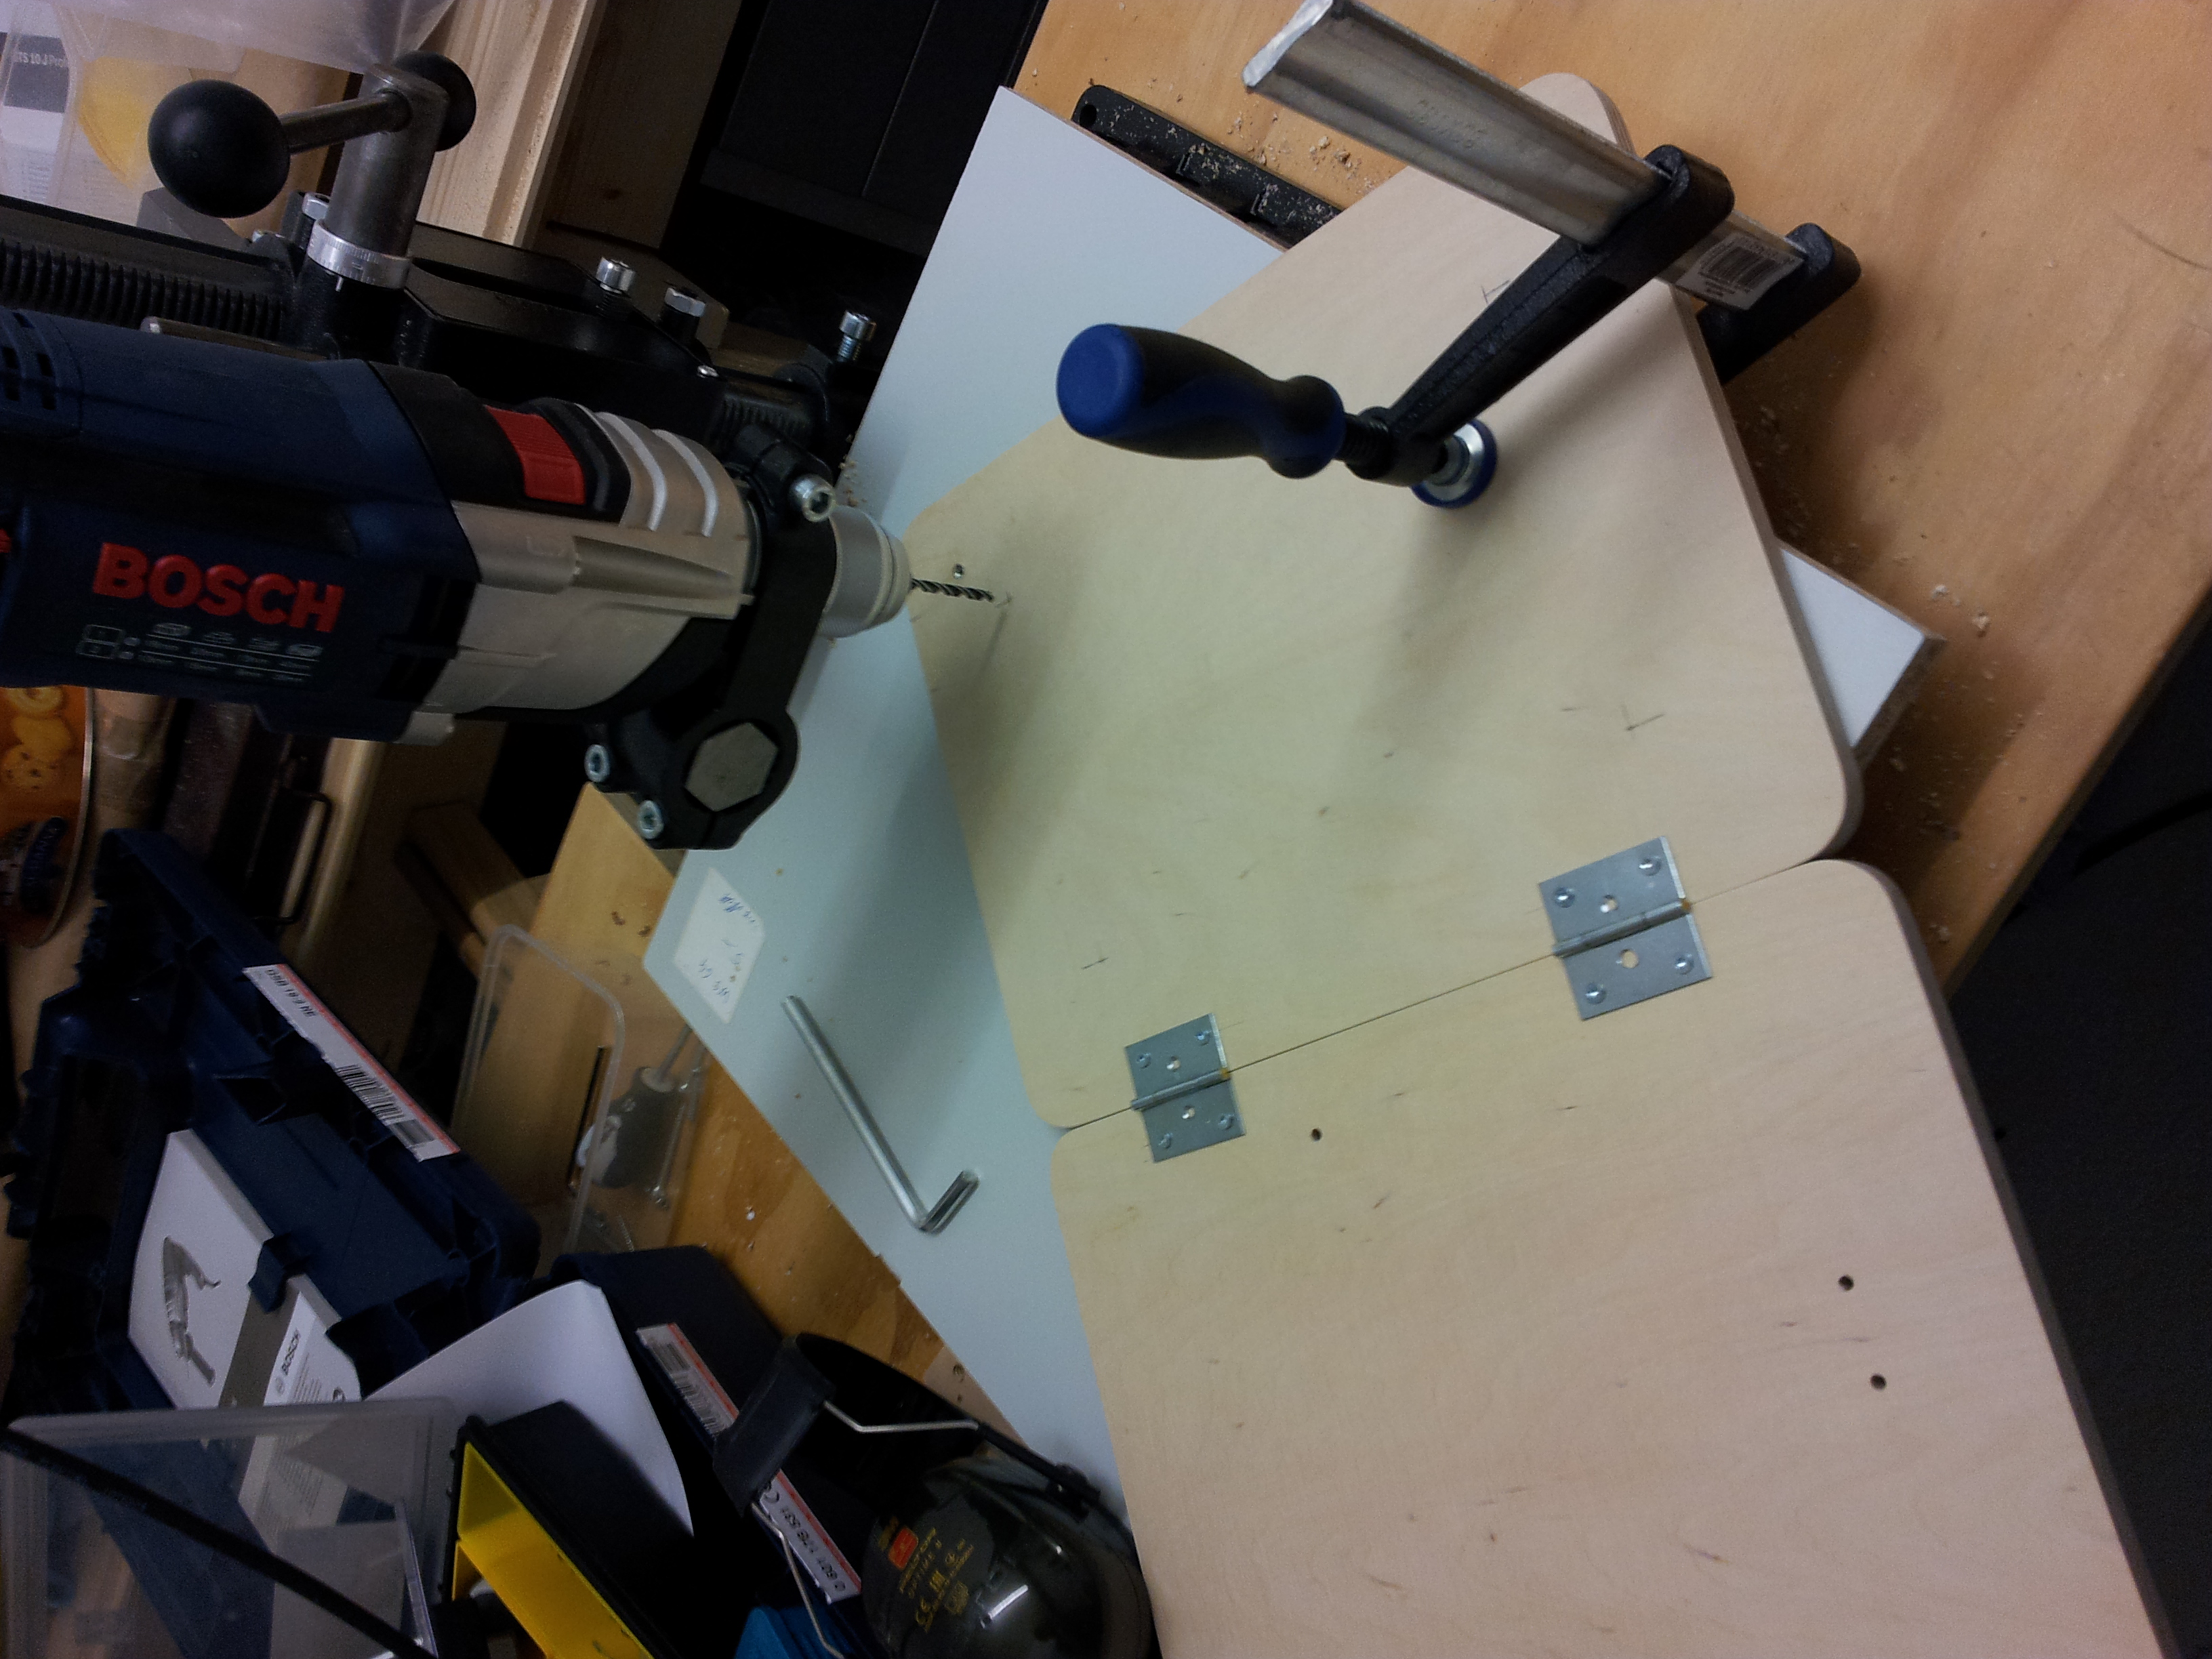
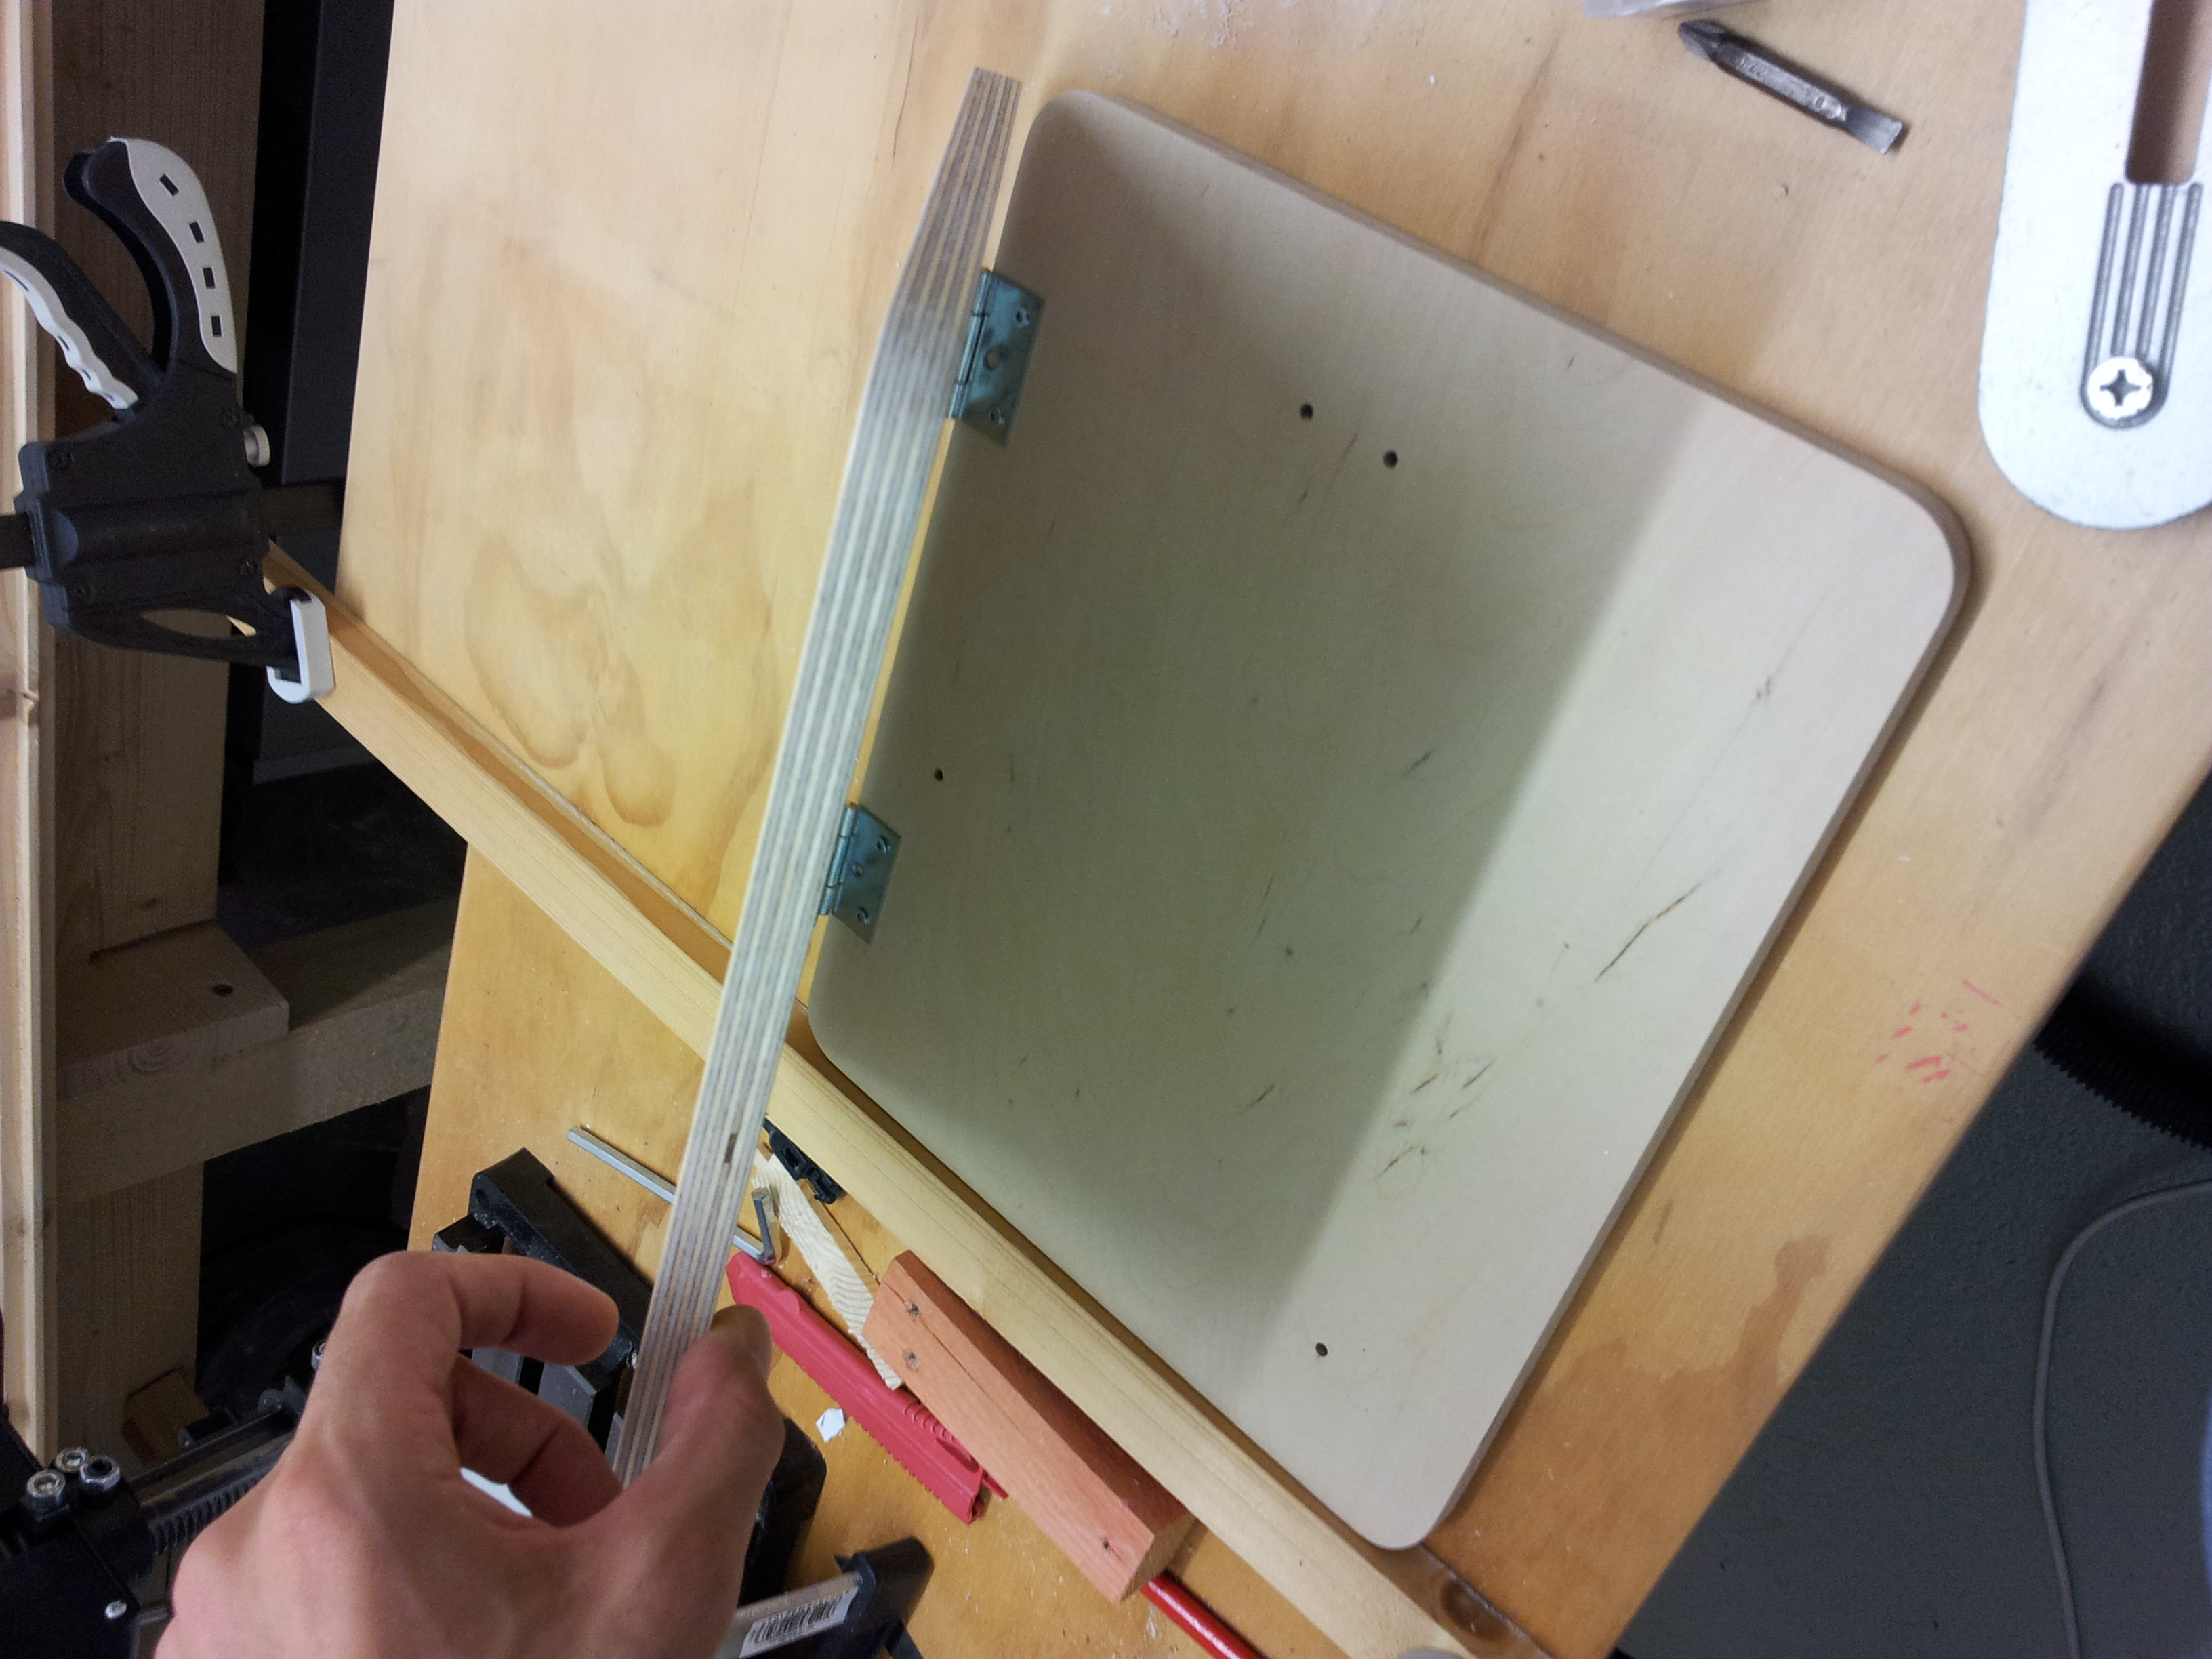
For the ceiling mount itself the most important feature was to be able to adapt the tilt angle dynamically. Otherwise I would have had to measure the angle of our ceiling with accuracy to not have a skewed projection. In the end I decided to go for two small turnbuckles (“Gewindespanner”). The rest is just two pieces of plywood where I rounded off the edges, screw nuts to attach the turnbuckles and two medium size hinges. You can find the schematics in this Sketchup model. Just be sure to double-check all dimensions. I might have made some small adaptions to the original design while working on the wood.
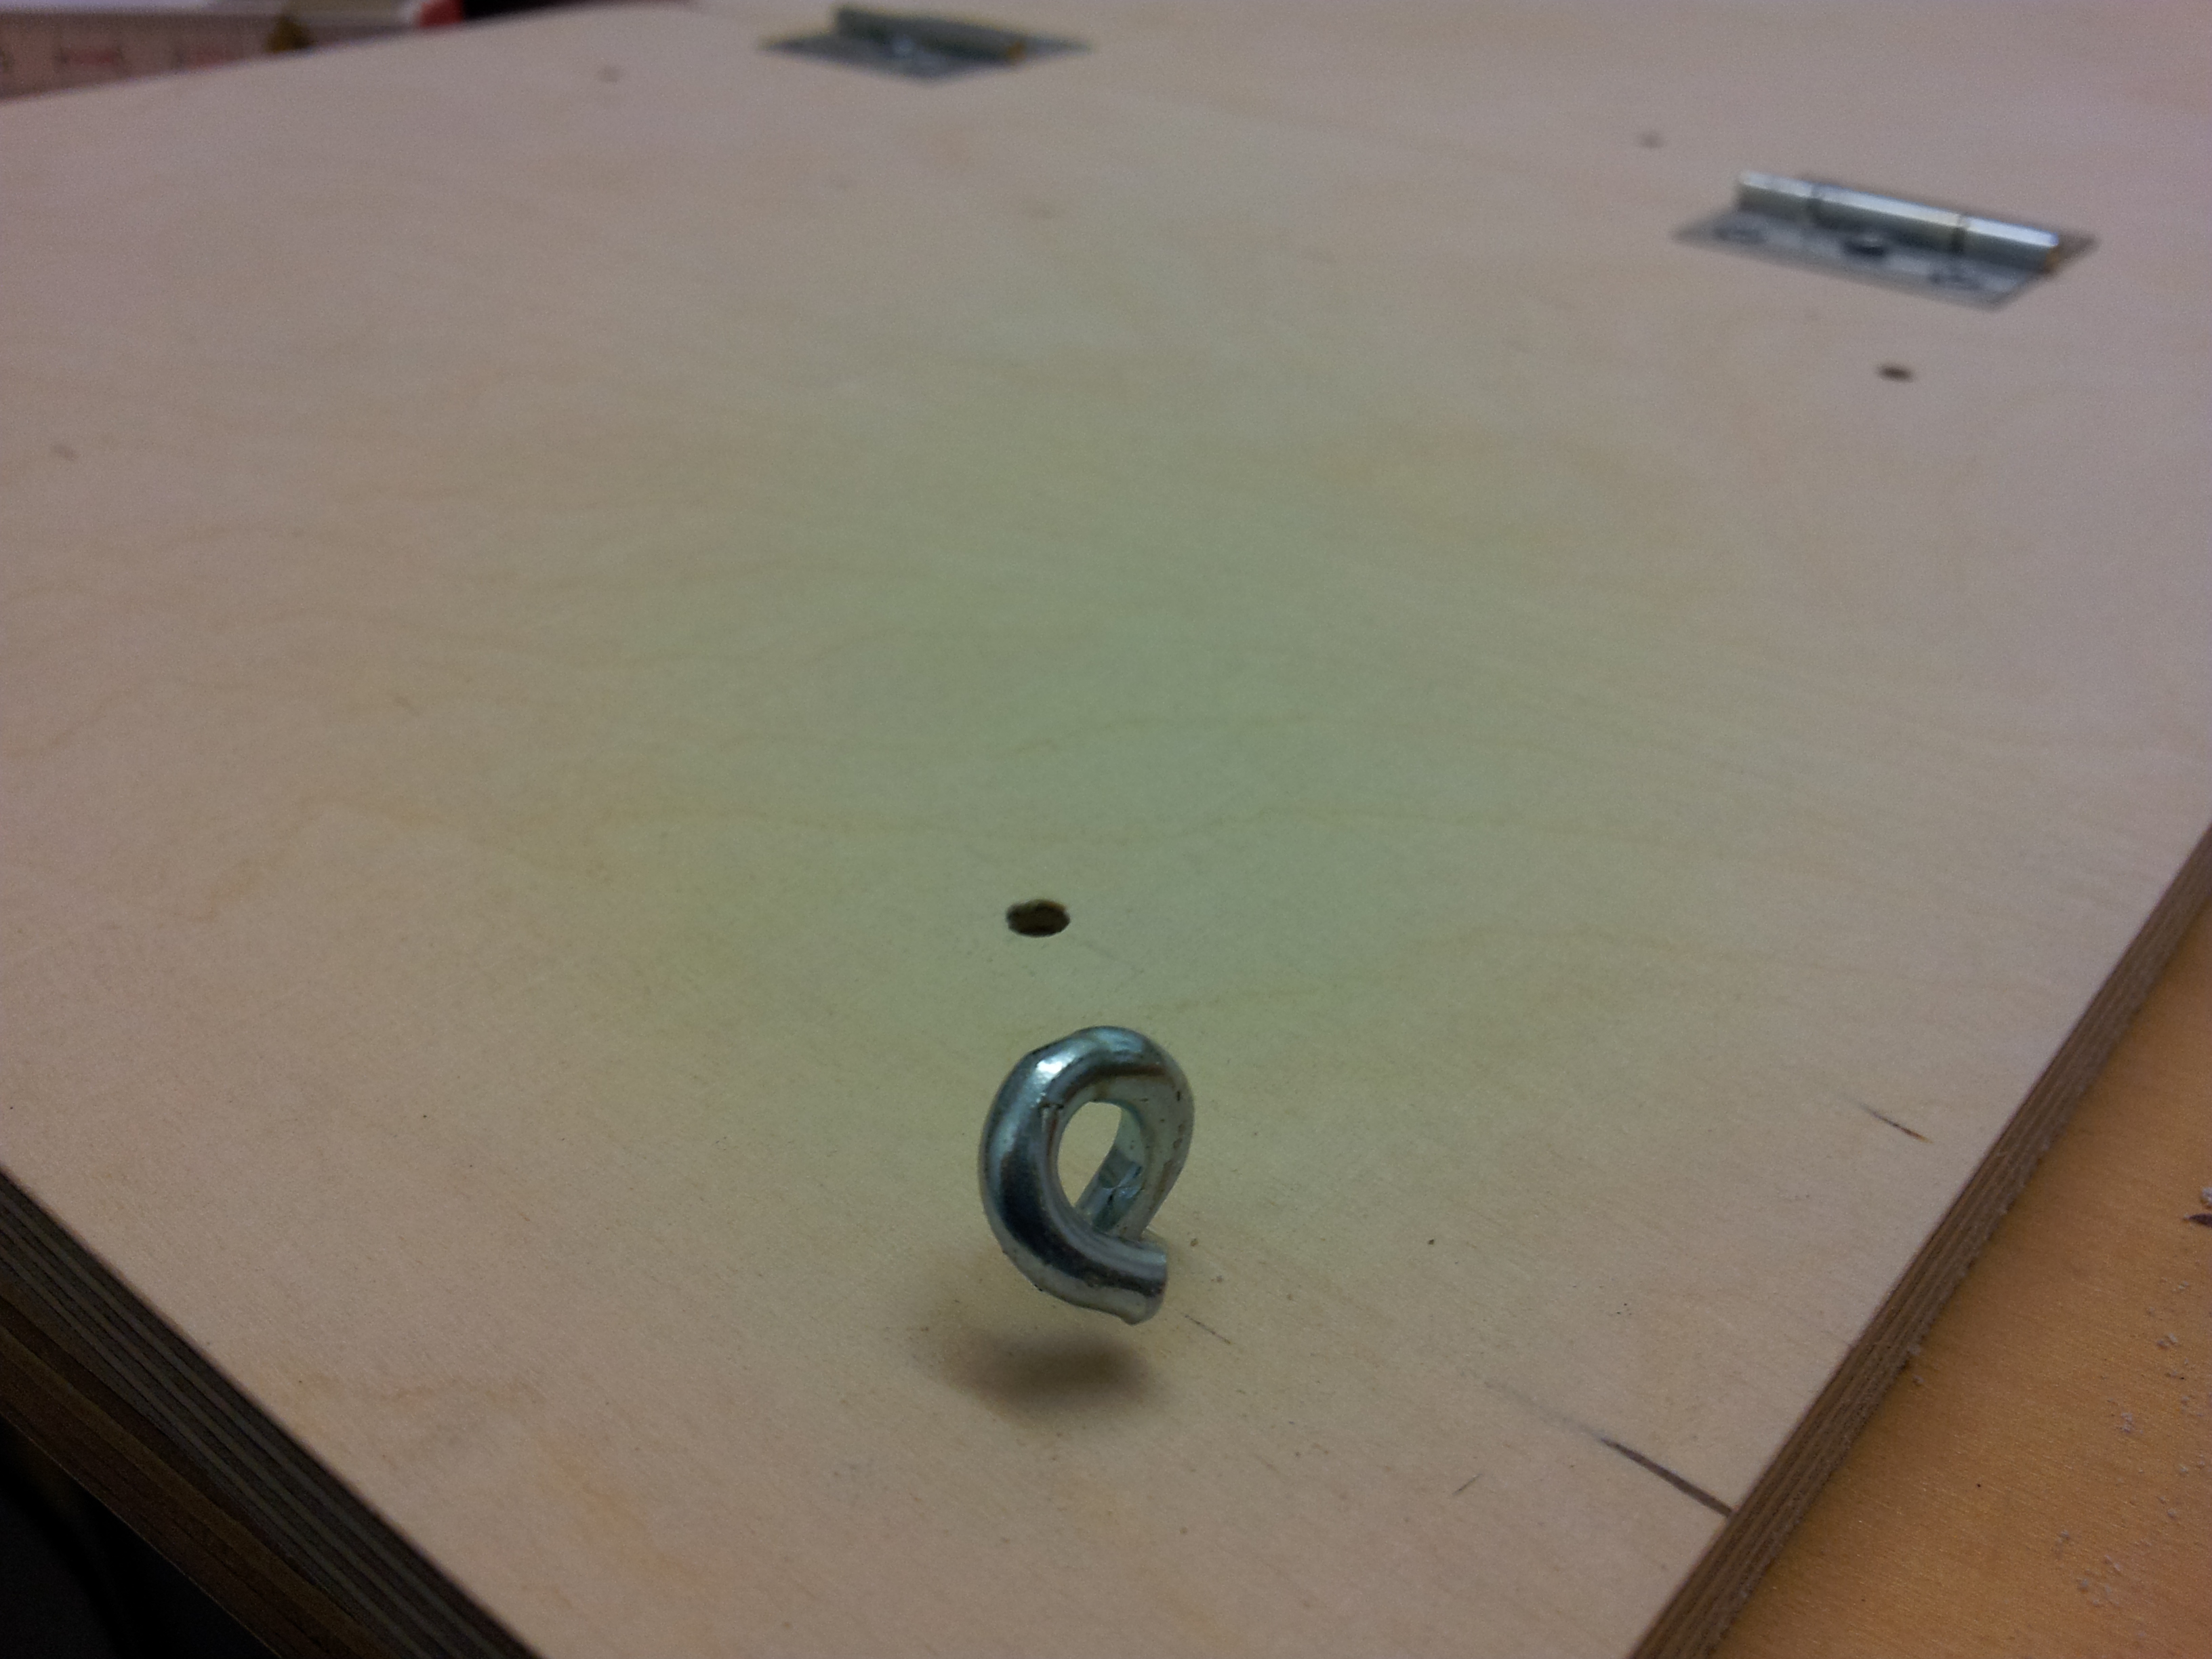
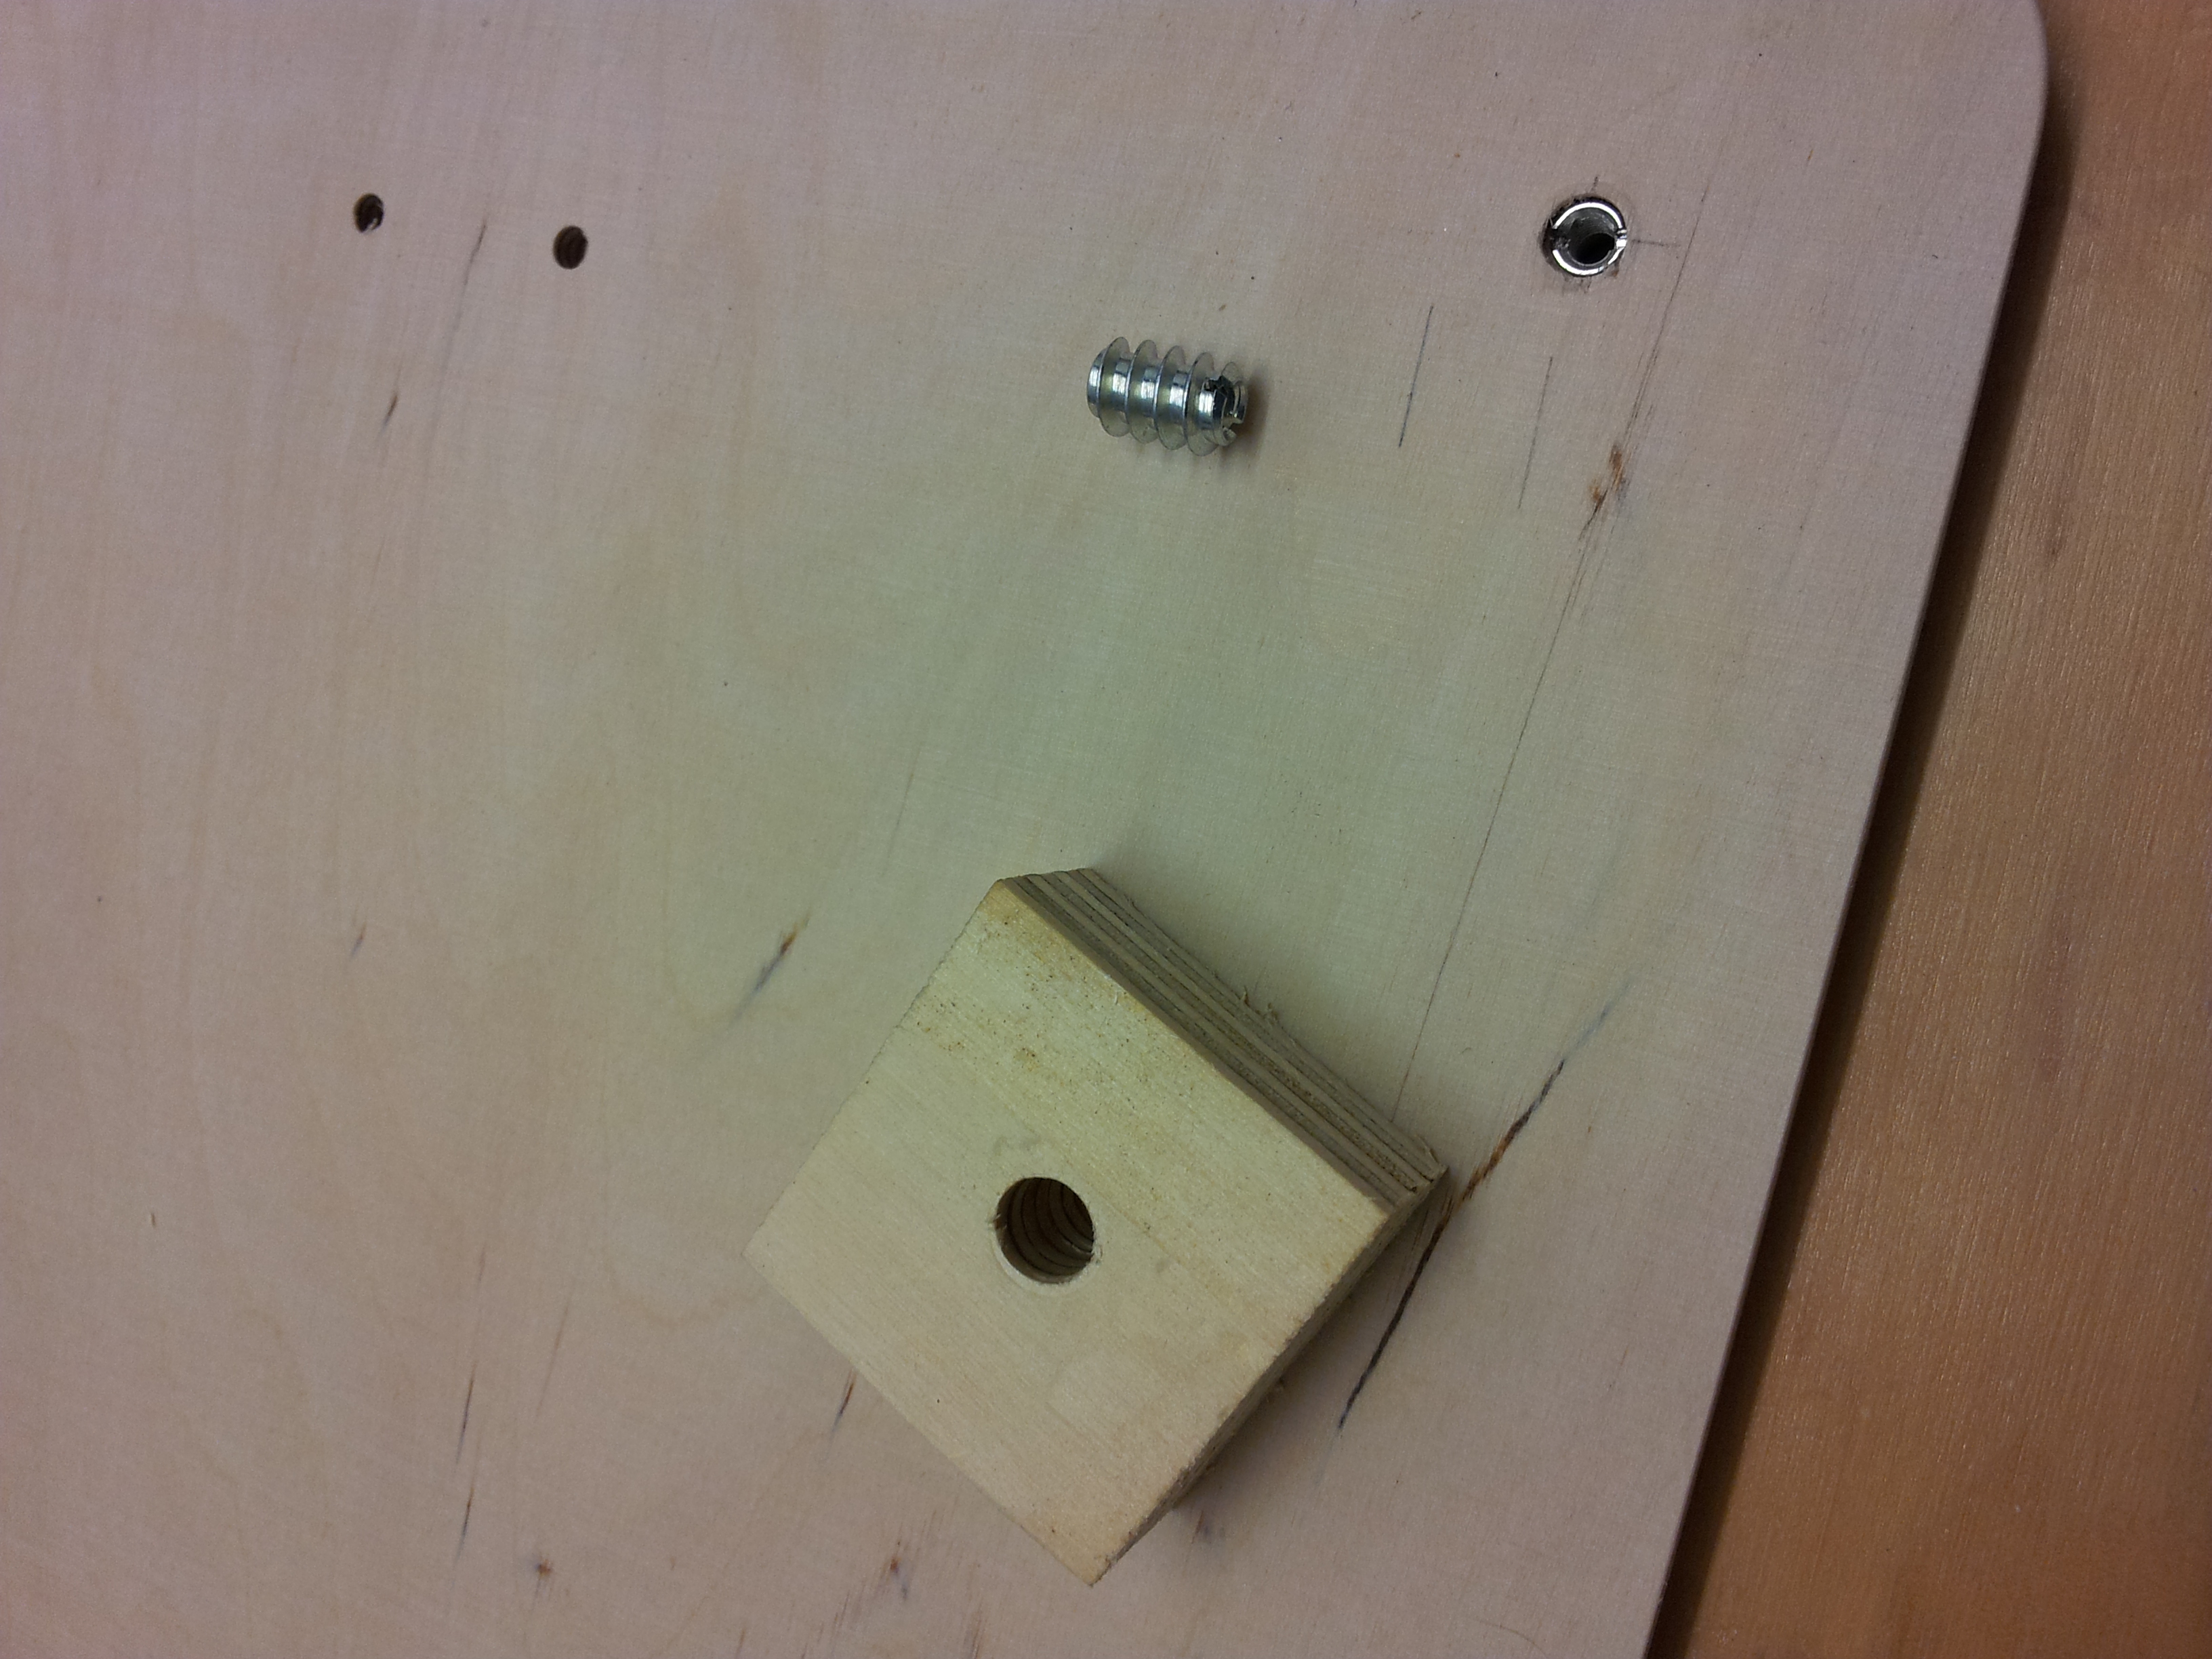
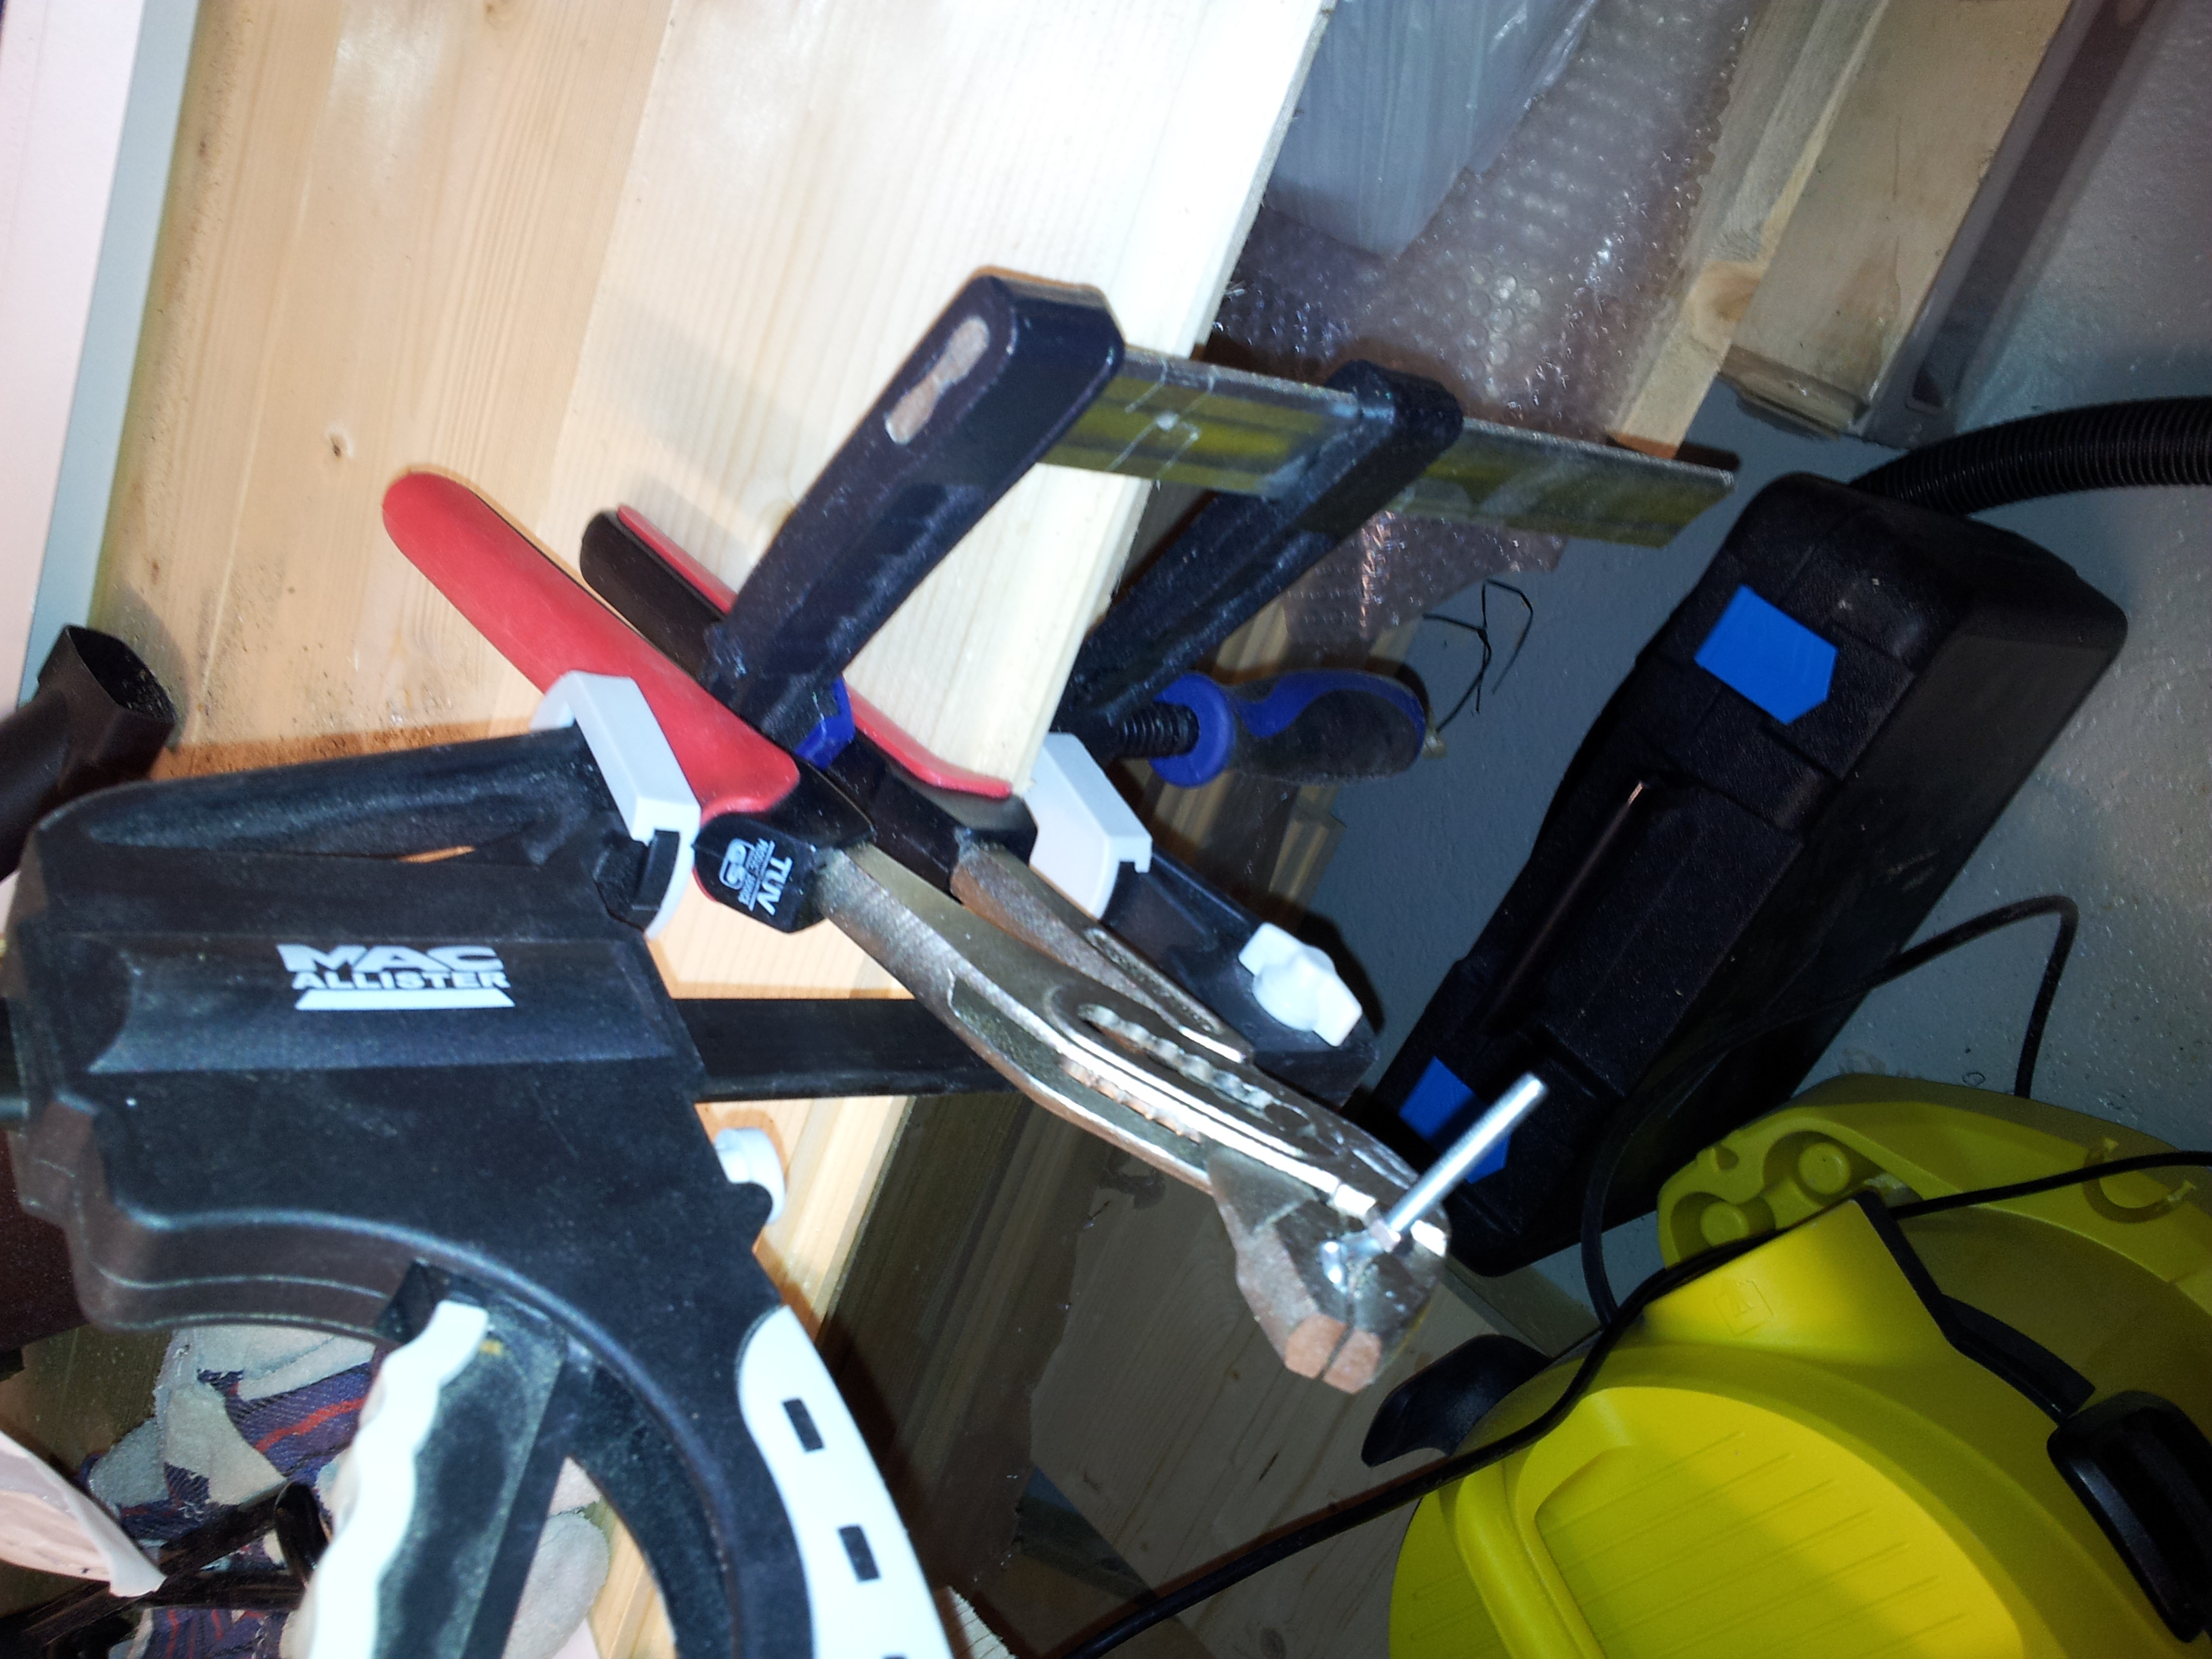
To drive the screw nuts as straight as possible into the plywood I prepared some left-over piece of wood with a hole just large enough for the nut to fit through. The piece was then centered around the actual hole for the screw nut and tightly clamped onto the plywood. It helps to keep the nut straight and prevents the plywood from splintering.
Attachments
Images