Wing Wing Z-84
Introduction
To accommodate for the fact that I don’t have a car I was looking for an easy to transport plane. Additionally the plane should be Plug’n’Play1 so that it wouldn’t be an issue to just fly a few batteries after work. As a bonus I was looking for something which beginners could fly as well since some colleagues were interested to come along the next time I was going to the field.
My plan A was to get the “Toro 900” since I had a good experience with it in the past. Further, it would have been fairly compact, glides reasonably well, but can also be flown in more of racing fashion. And of course, it is nearly indestructible!2 Unfortunately, the “Toro 900” is no longer being produced and pretty much out of stock everywhere. Next option on my mental list was the “Multiplex Xeno Uni”. It’s big plus was the foldable wing design which makes it perfect for being transported in a backpack. My main concern was the price. The kit alone was about as much as I had planned to spend on something that would be ready to fly.
Luckily, when I talked to a friend of mine about my plans he asked whether I had checked on the “Wing Wing Z-84”. After doing so I came to the conclusion that it was basically the Xeno Uni just in cheap except that it didn’t offer the wing folding. But I quickly concluded that it wouldn’t be to difficult to come up with a modification to make the wings detachable.
Build report
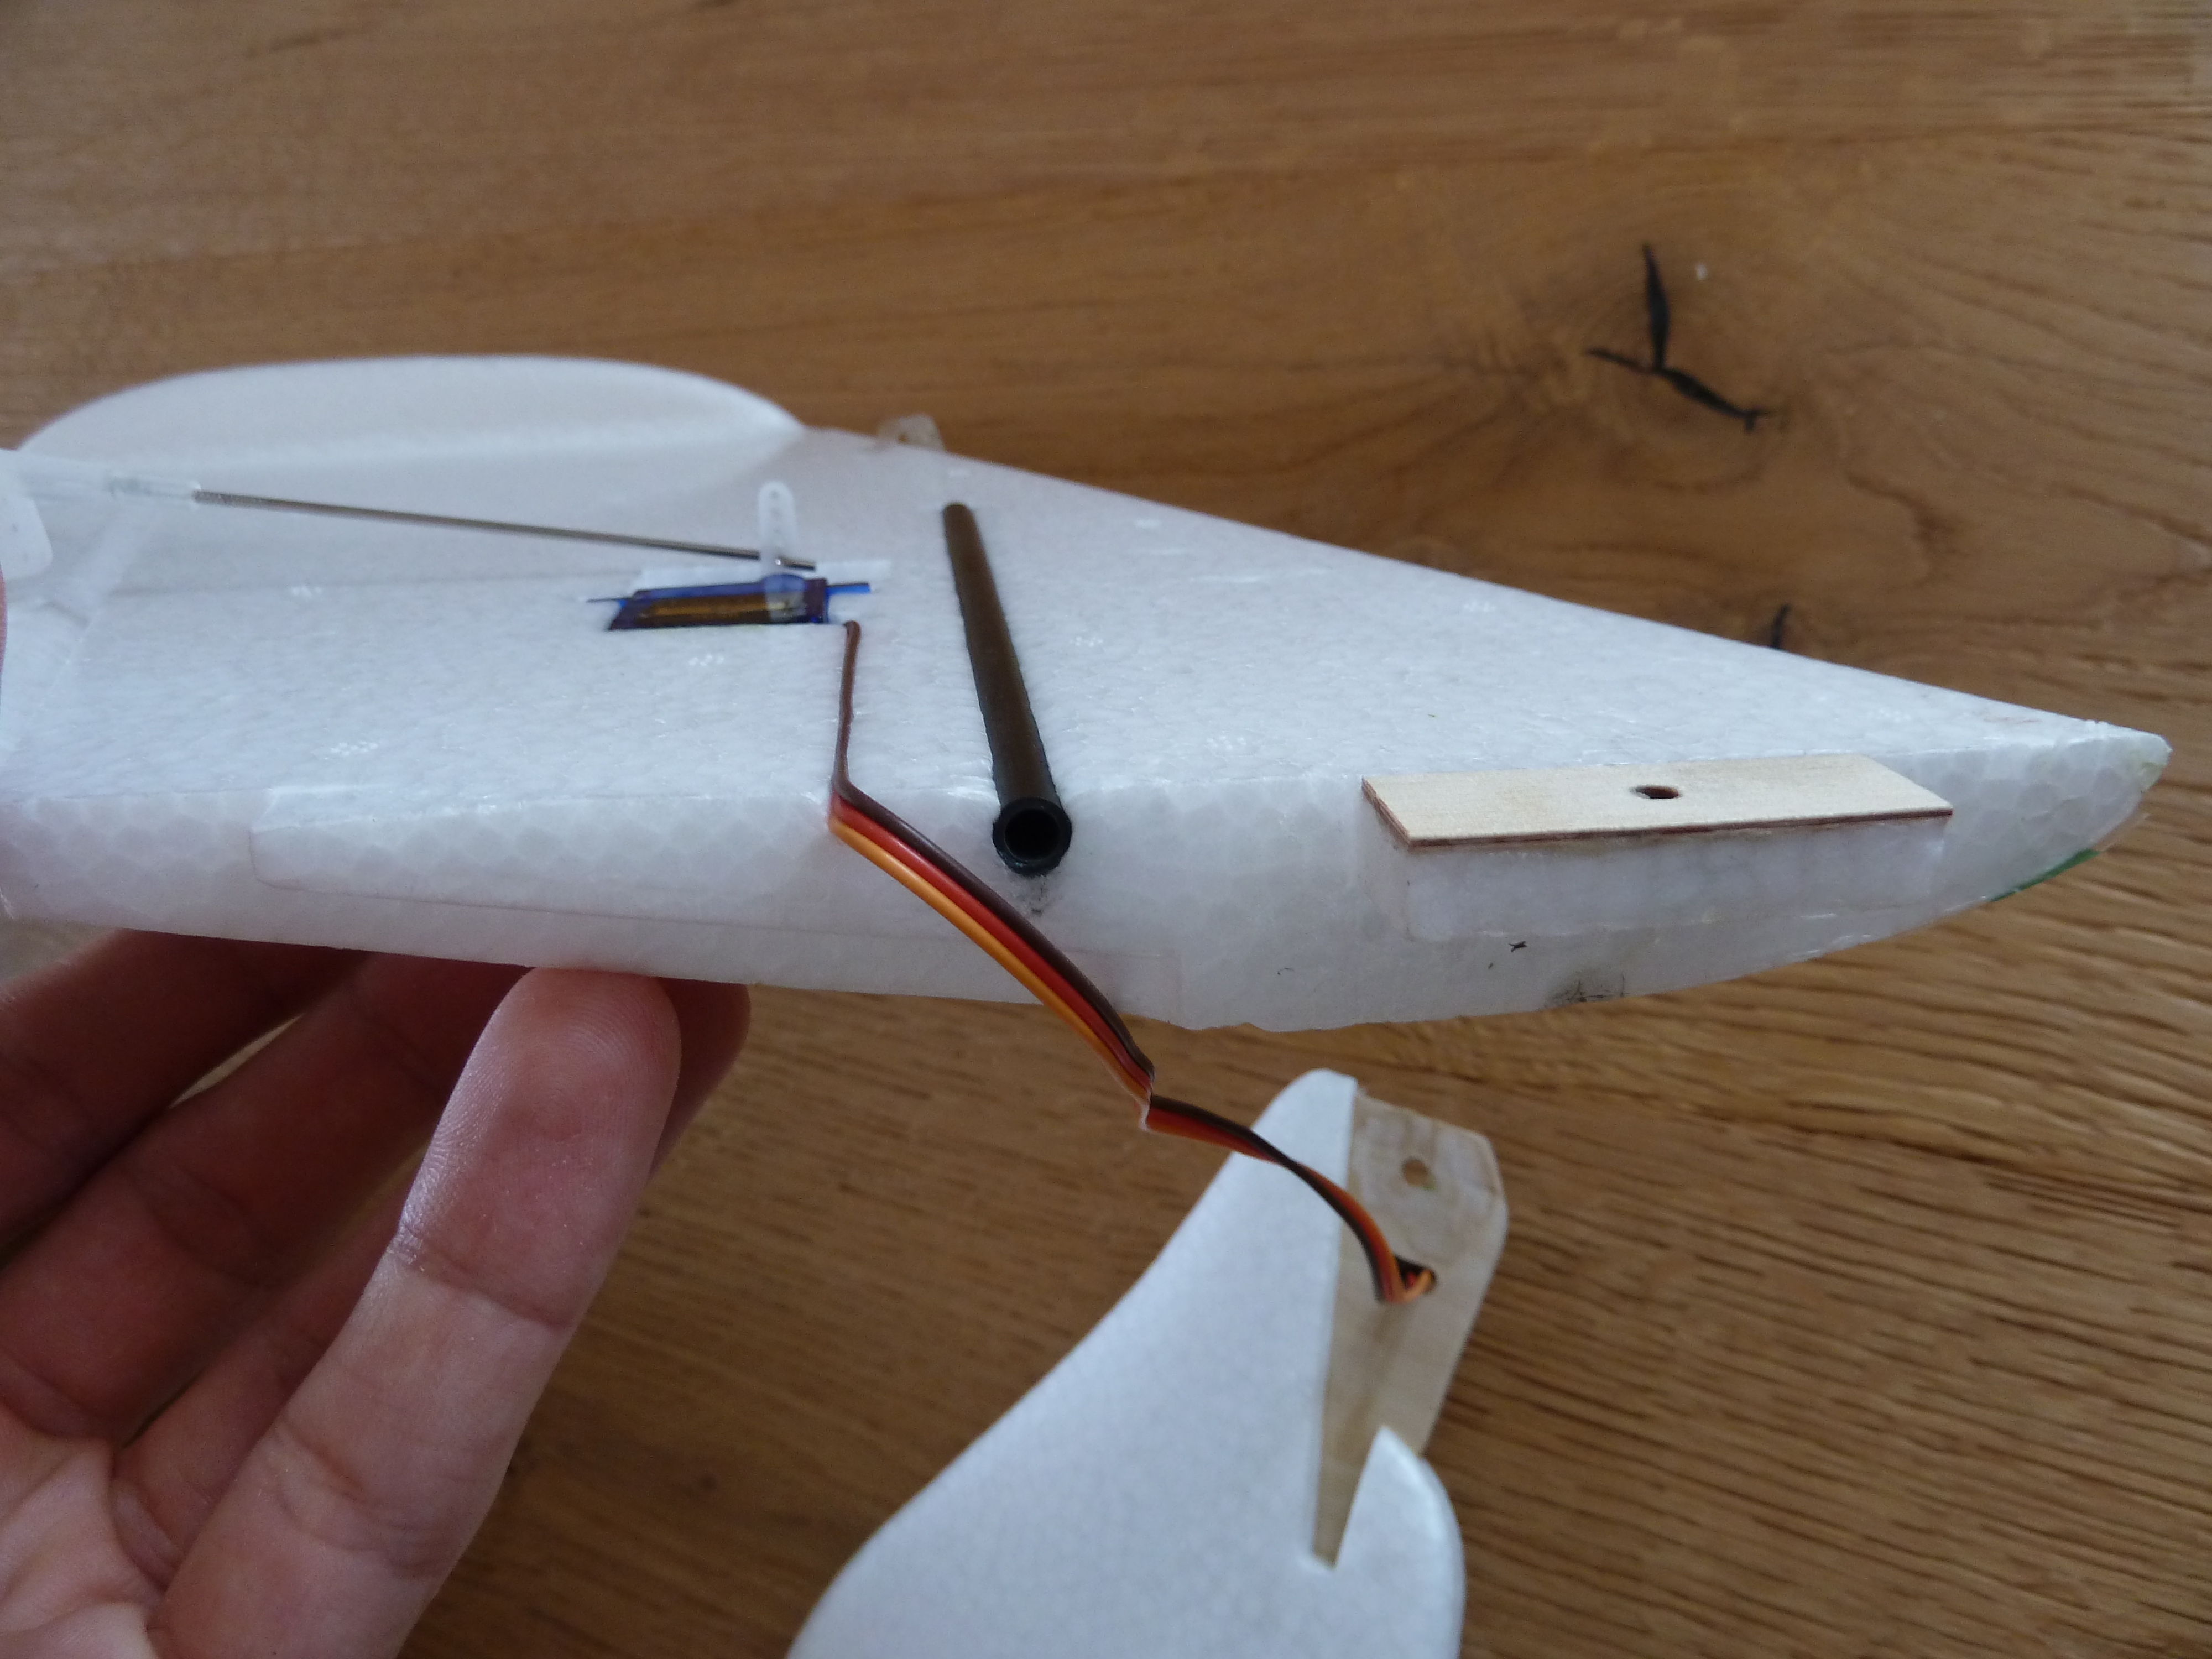
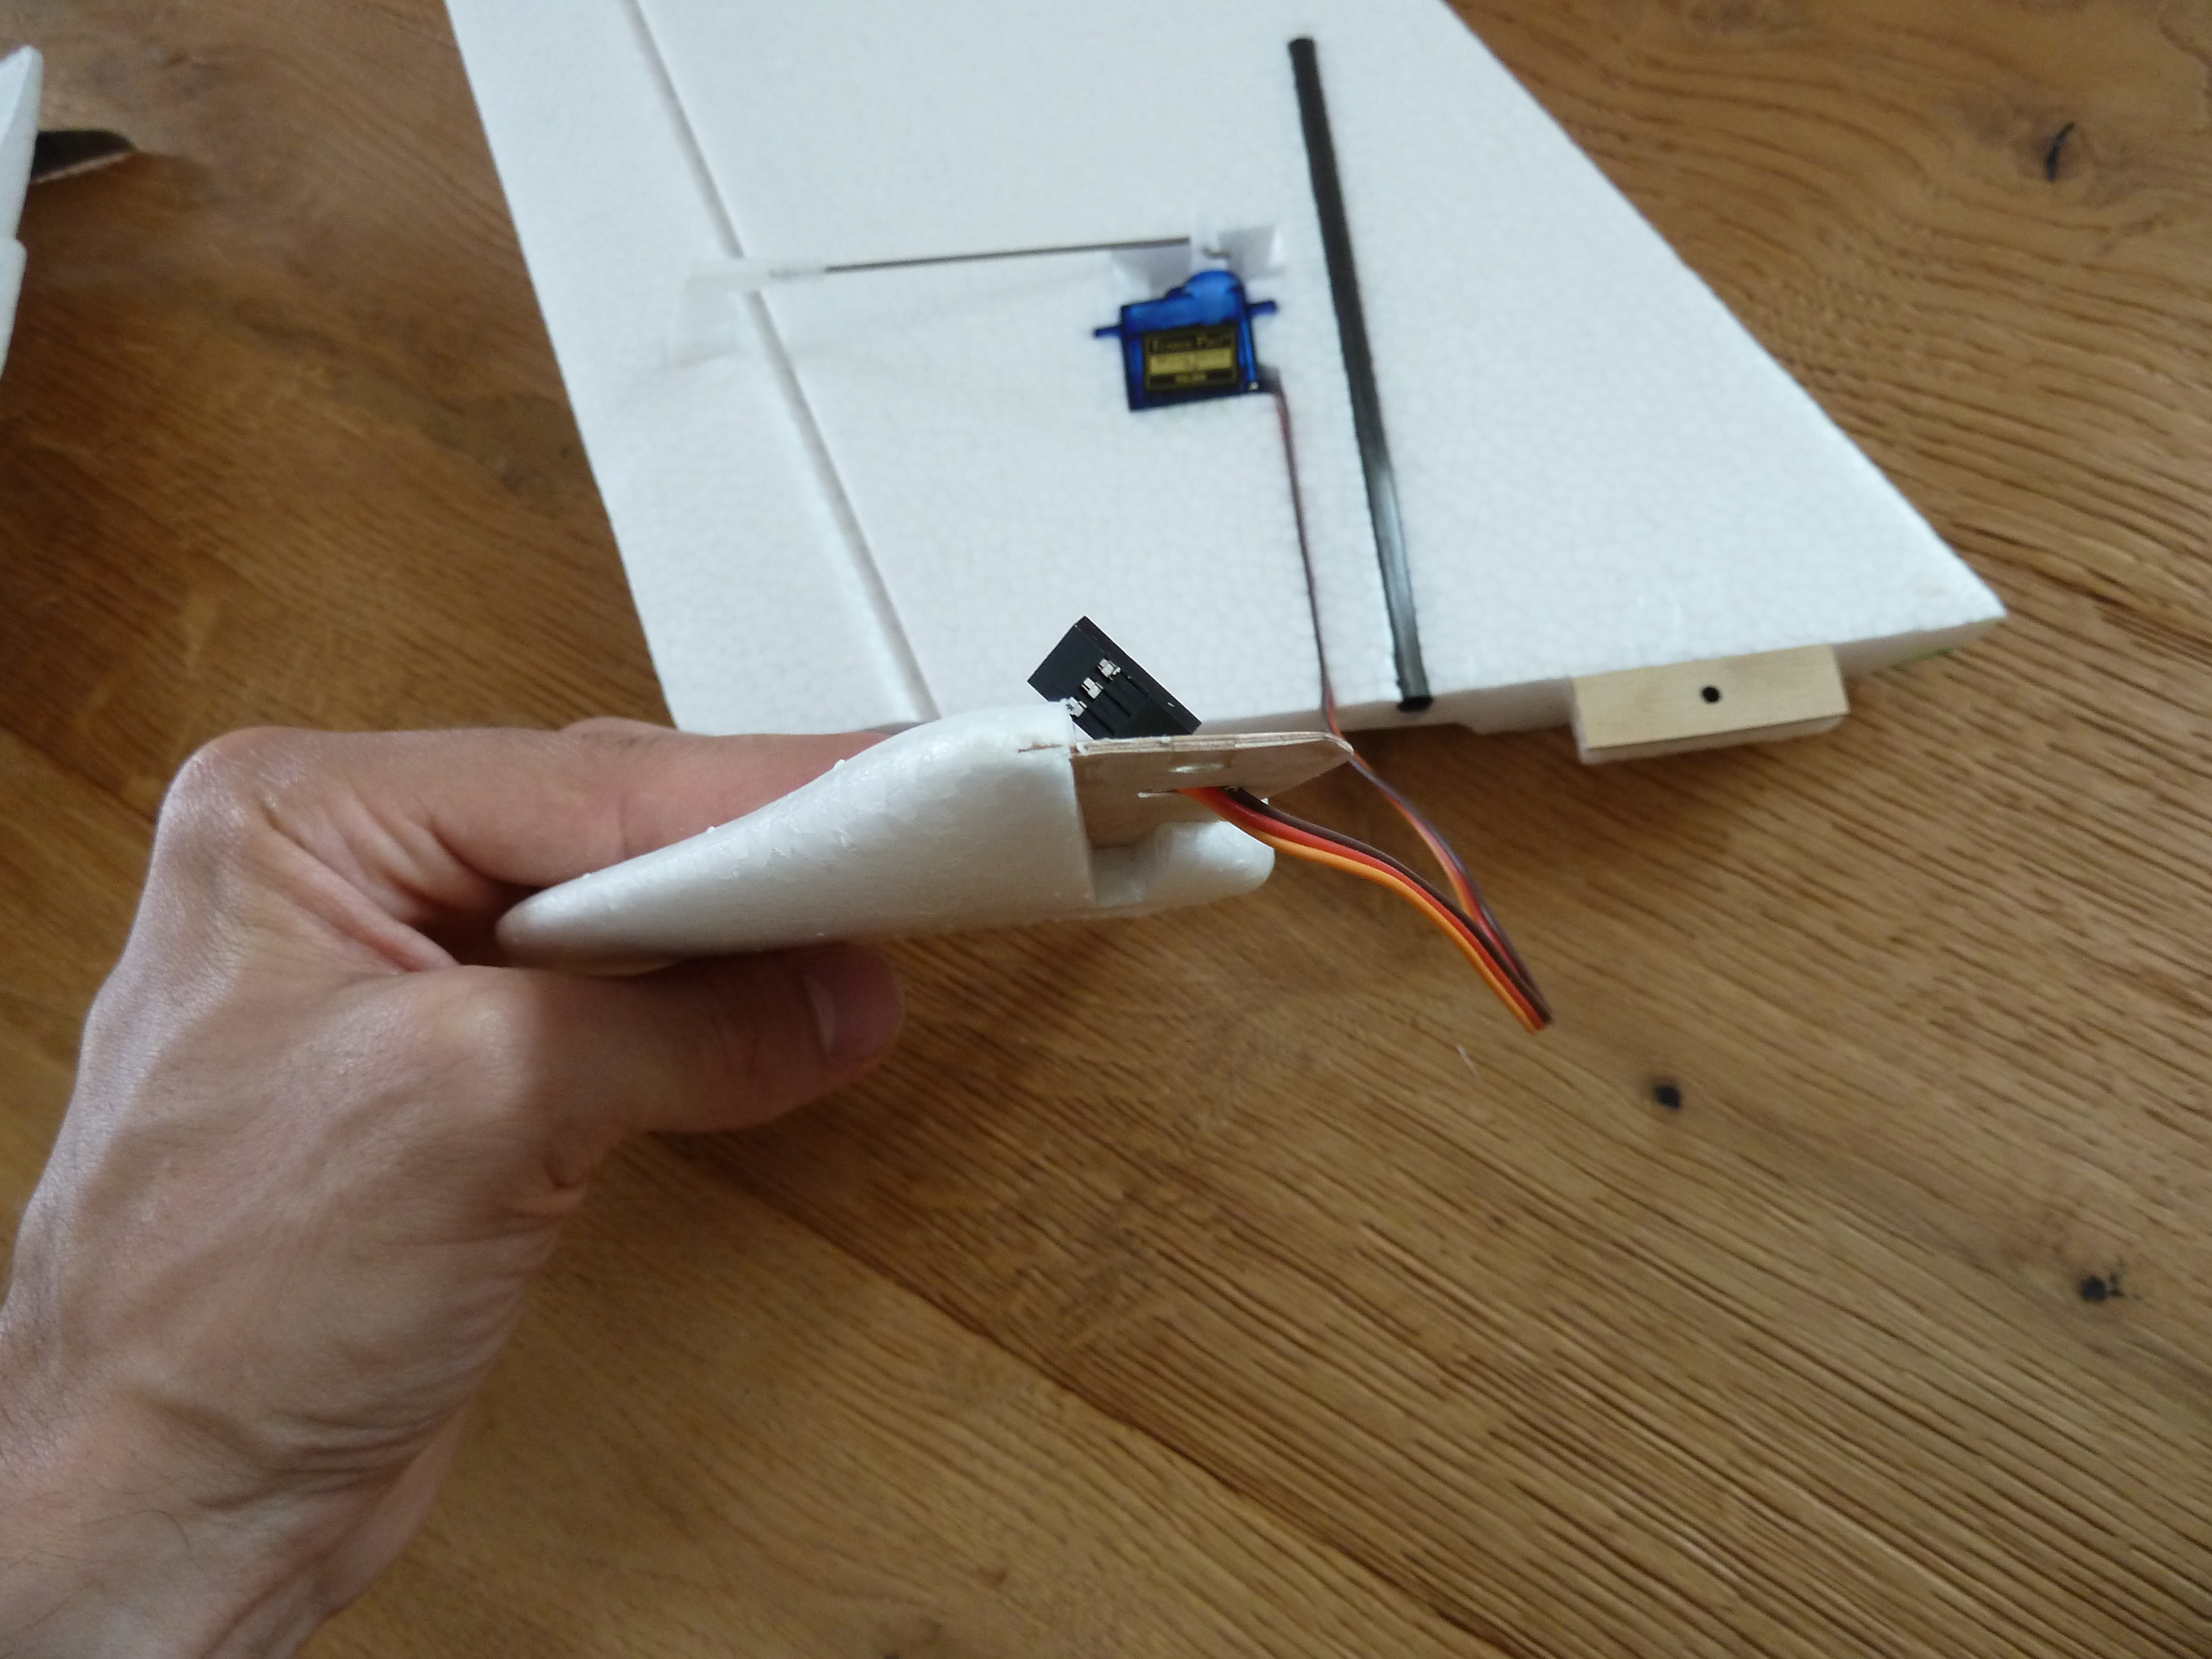
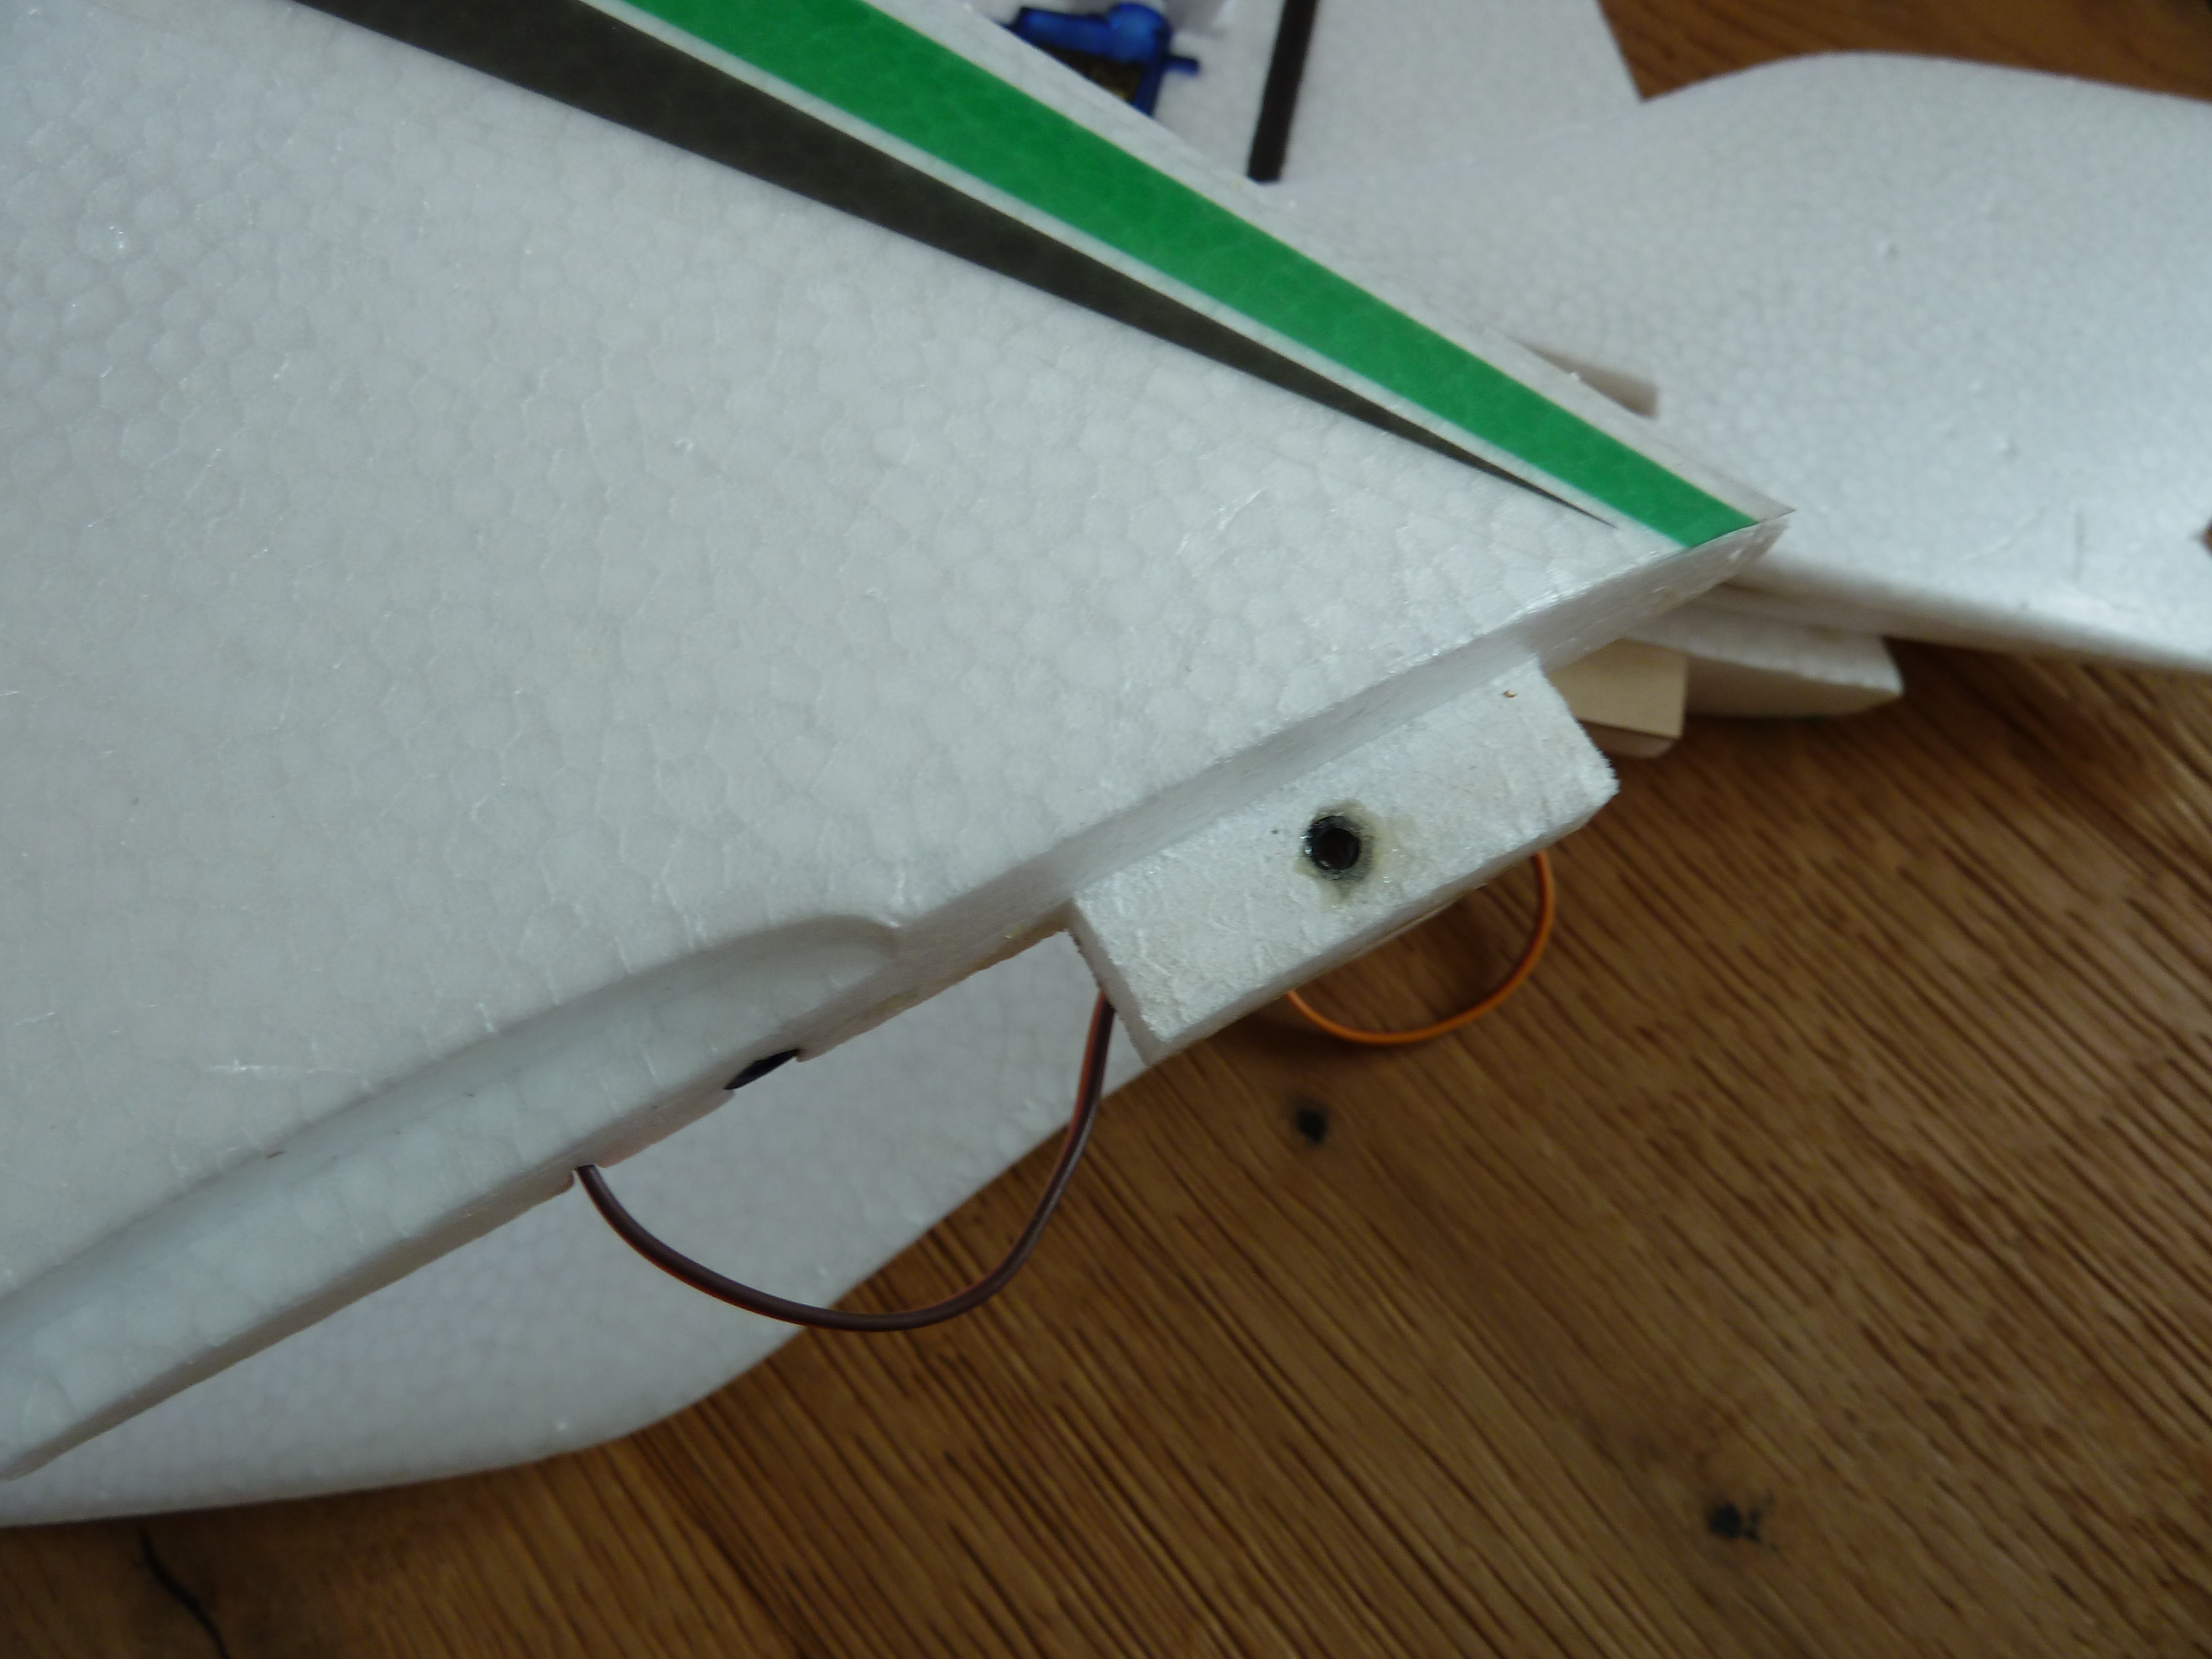
As mentioned, to make the wings detachable I planned to make some modifications to the assembly. So when I received the kit, instead of glueing in the supplied CFK rod I used three pieces of CFK tube with an inner diameter matching that of the rod. To prevent the wings from sliding off the rod I added some plywood reinforcements under the wing that will hold two screws to secure the wings to the body. Finally, I extend the winglets with some thin plywood so they would slide onto the rod as well.
If build strictly according to instruction it should take more than half a day to get the kit ready-to-fly. With my modifications it took slightly longer as I had to cut a few pieces and when I started I didn’t have a clear picture of how everything would work out in the end. Even so, after a day in the workshop the only thing missing was the electronic. In general, the kit is dead simple to build. The pictures in the manual show what to glue, the CoG is clearly indicated and even some instructions on how to adjust the servos are provided.
Flight report
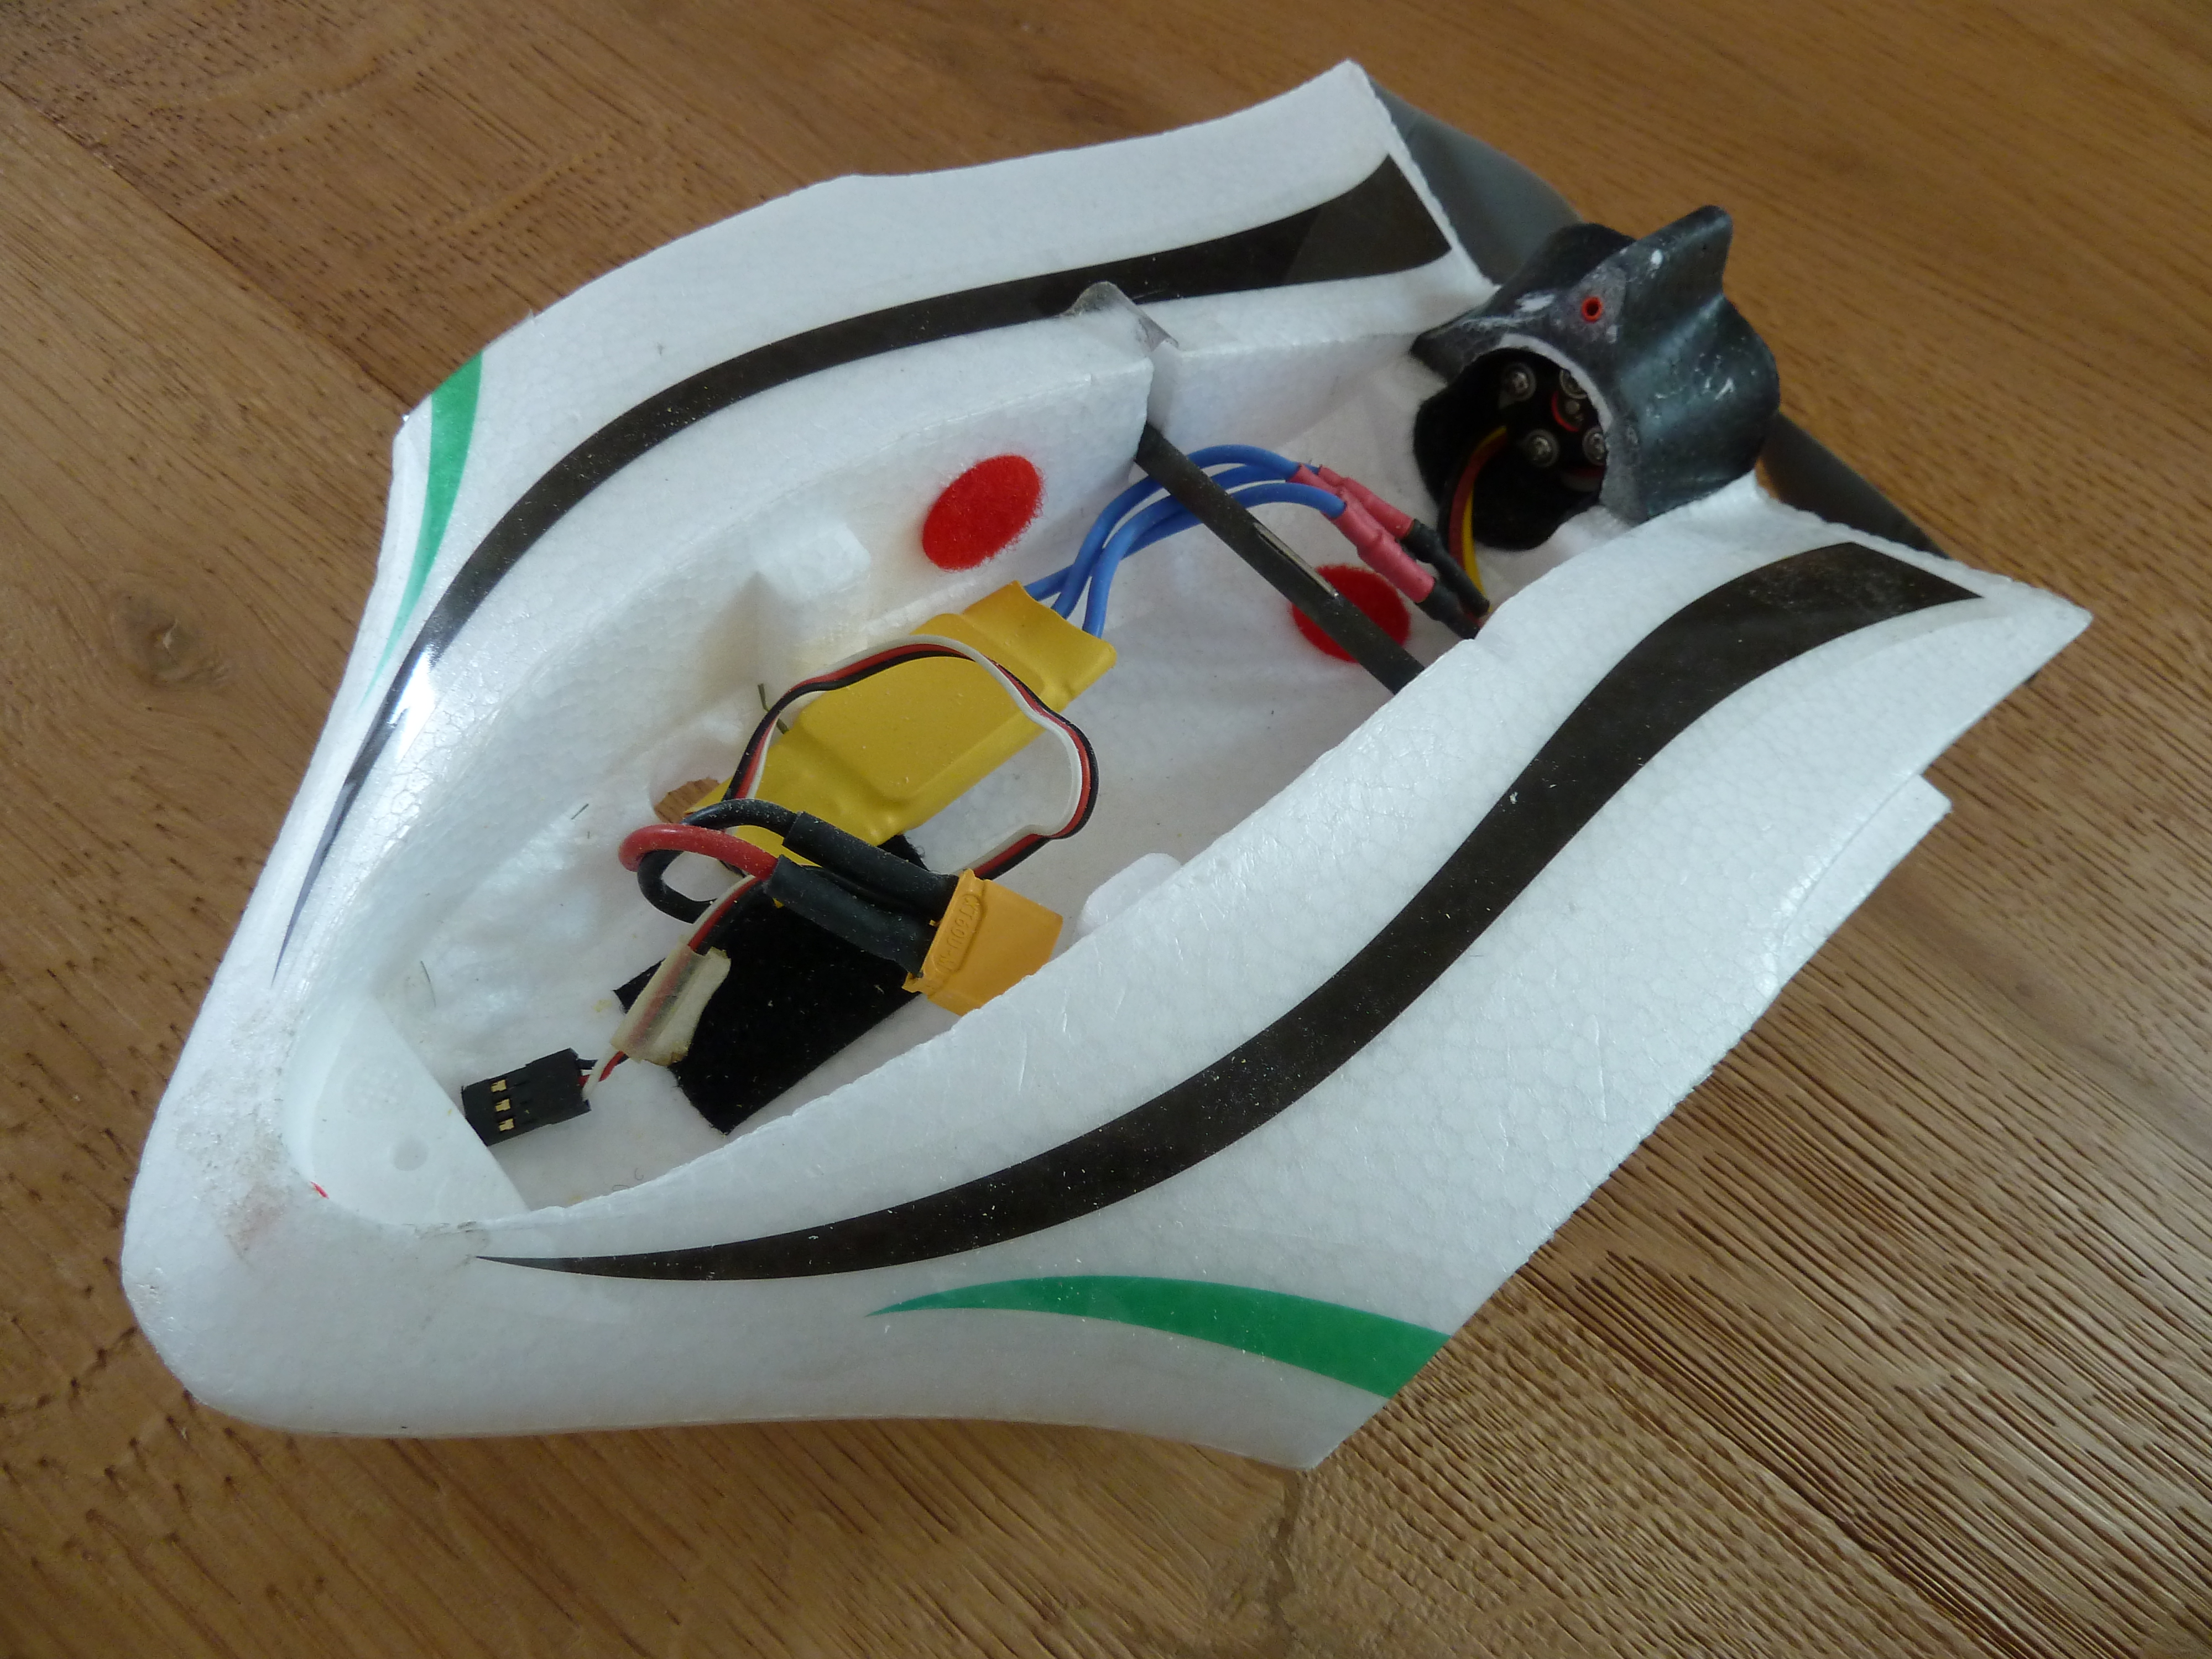
Instead of the recommended 5x3” propeller I decided to go with a 7x4” as the motor I used was slightly lower in KV. 7” is really the maximum you can fit between the winglets. With the bigger propeller the motor is drawing more current. So instead of the recommend 10A ESC I stepped up to a 30A one. 20A might have been enough but I wanted to have some margin and a 30A ESC was anyway still lying around. Even with the stock setup a 10A seems to be slightly underrated.
With the battery I had some trouble to get the CoG right. The manufacturer recommends a 2S 1500mAh but I couldn’t get them in the right form factor. The longer the battery the heavier it has to be to balance the model. In the end I decided to go for 2S 2200mAh. With my bigger propeller the extra weight was not to critical and I might even get some extra flight time out of larger capacity.
At zero wind the model shows excellent gliding capabilities. It even catches some thermals. With stronger winds it is less stable but still well controllable. I even flew it with wind speeds around 3-4bft. I noticed that the ESC has trouble to brake the propeller when the wind is too strong are the model is getting a bit faster. But so far I didn’t run into any problem due to that. If it gets to annoying I might change to a 6” propeller. That should have less drag and will still be enough for decent flight performance. Currently, about 50% thrust is enough to gain altitude and at full throttle the plane is going vertical. After a few seconds it reaches the limit of visibility. With the current setup I get about 5 minutes of motor runtime which usually enough for about 30 minutes of flight time.
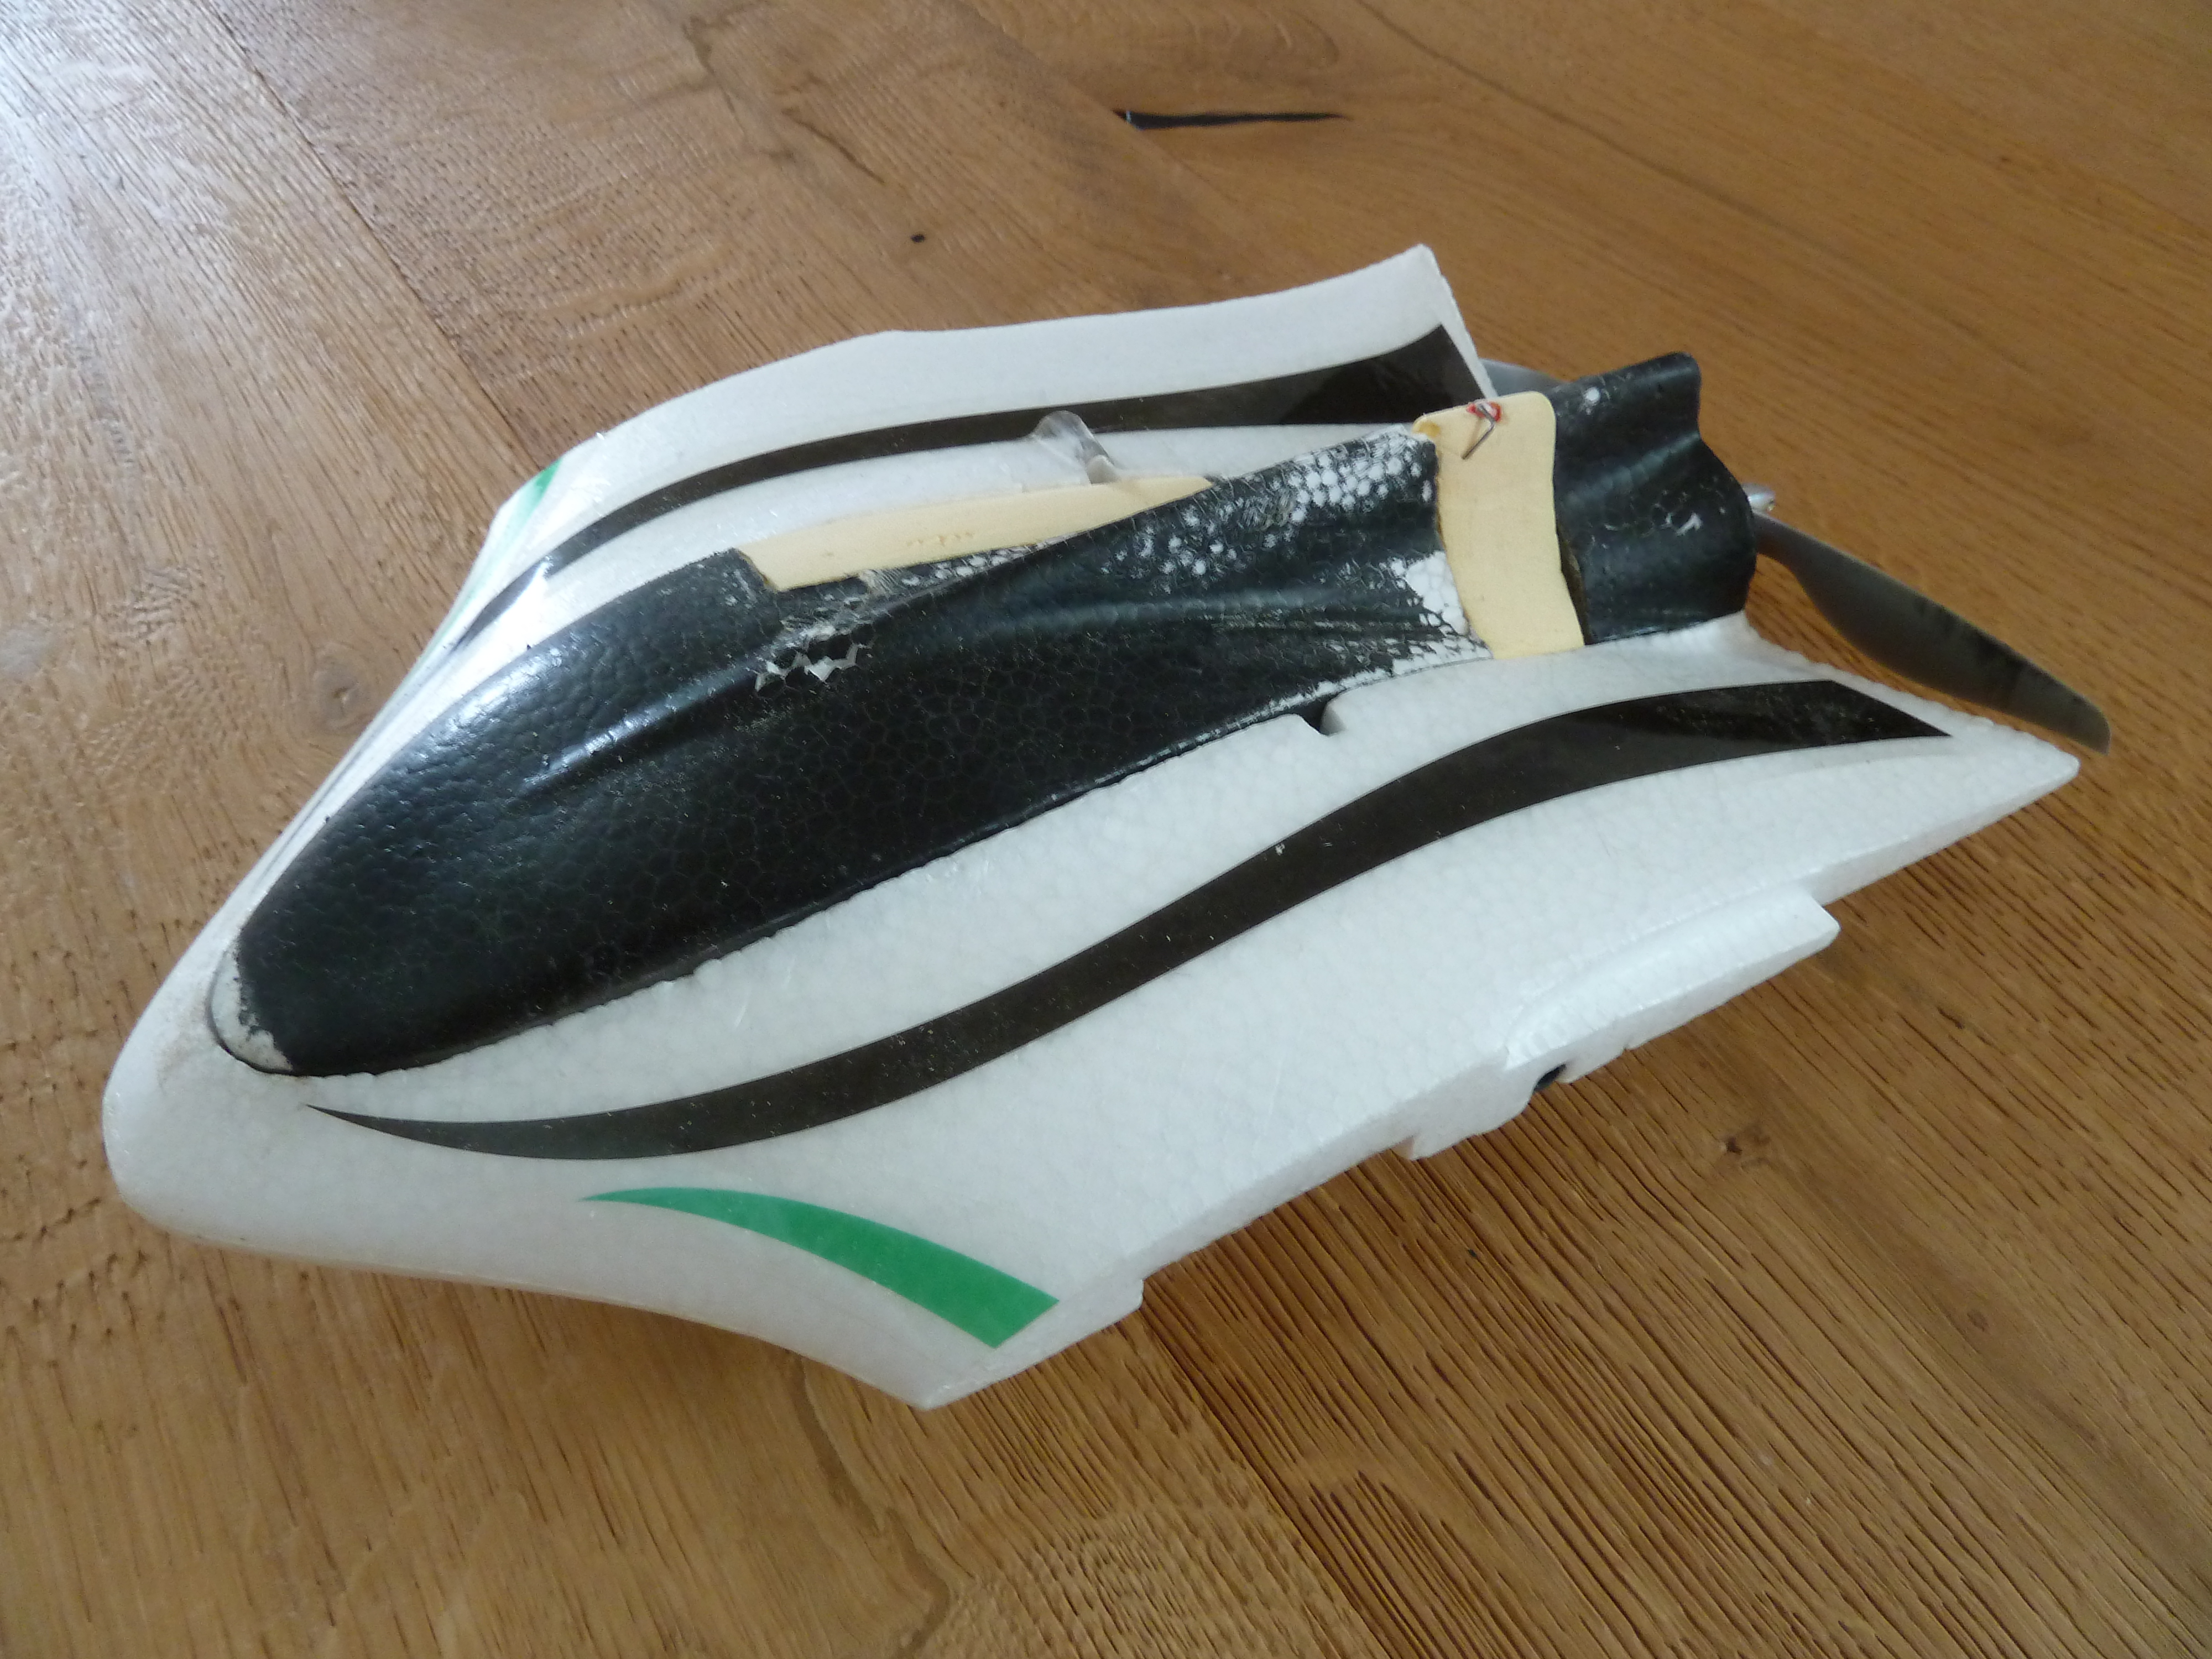
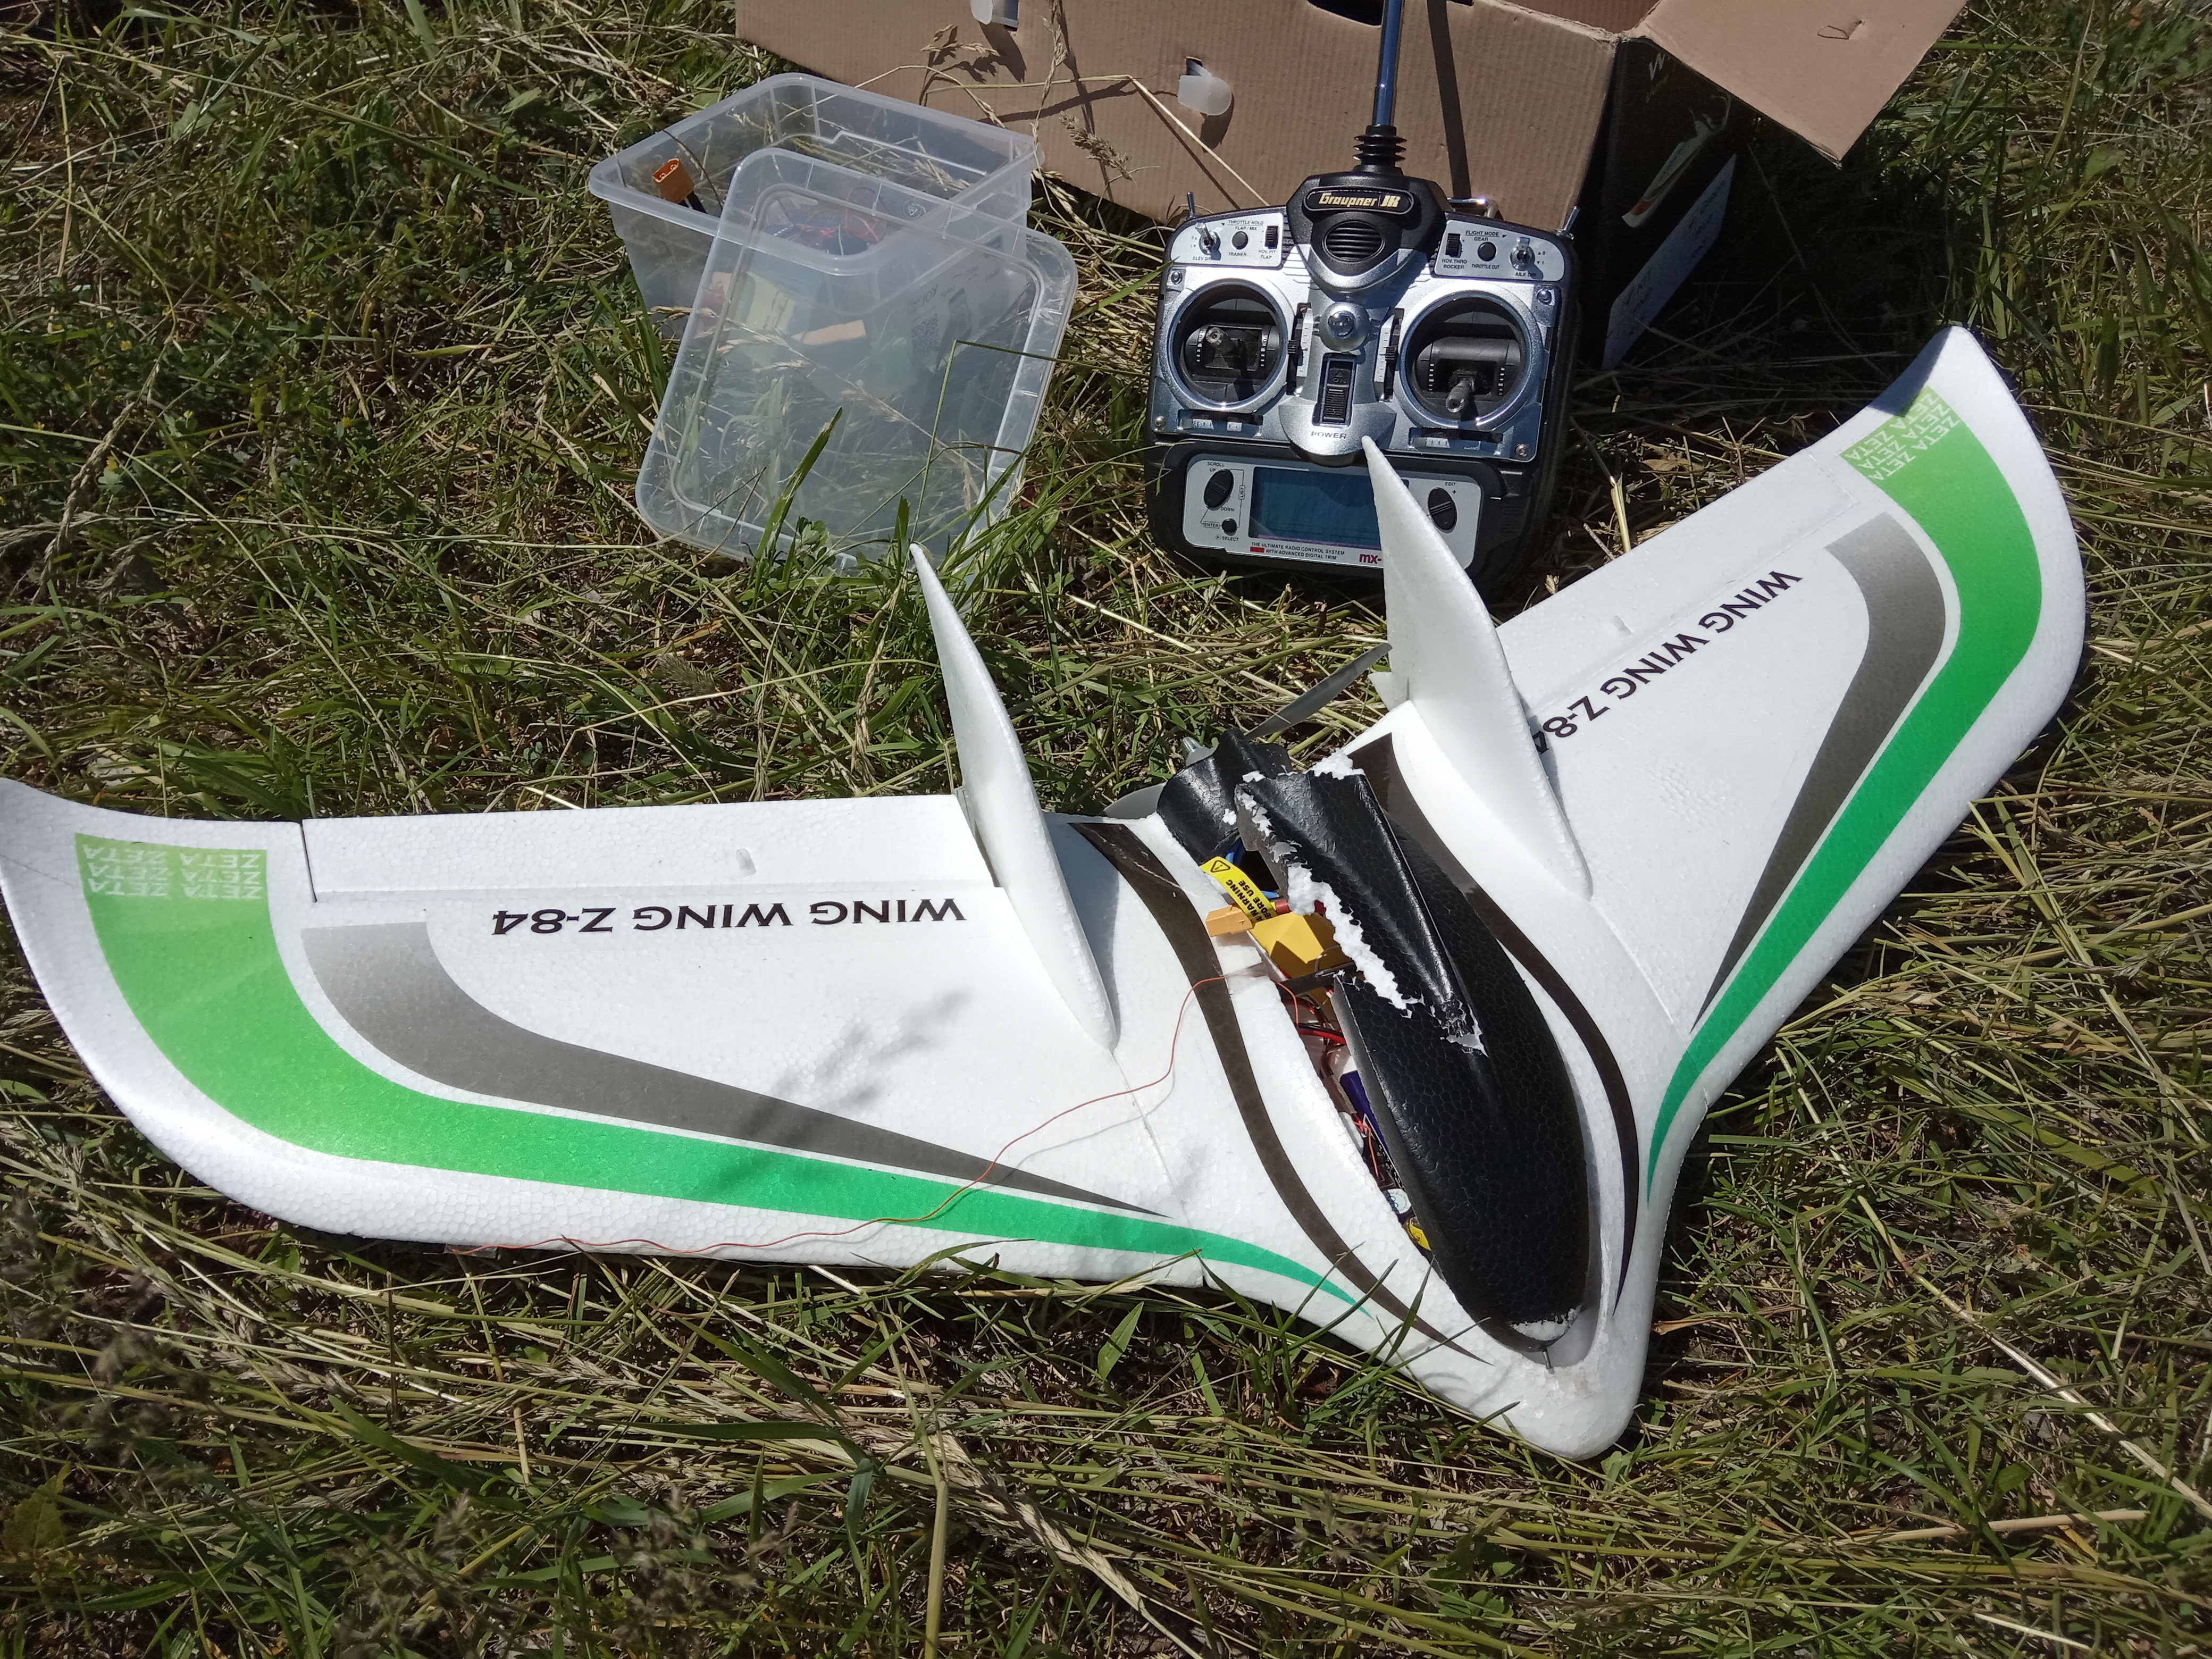
In general, I can recommend the kit even for beginners. At close to zero wind it can be made fairly slow and it’s easy to control. I think the “Toro 900” was still slightly more forgiving but I definitely don’t regret having bought the Wing Wing Z-84. My detachable wings fulfill their purpose of being easy to transport. The only issue I had so far was with the mount of the canopy. The standard plastic lock didn’t fit onto my carbon tube as it’s diameter is of course larger than the 4mm of the original rod. Instead I glued in a magnet and a piece of metal to hold the canopy. Unfortunately that didn’t turn out to well. During one flight the canopy came off and got slightly shredded by the motor. Now it looks well used and has a new locking mechanism based on a pin that slides into the main body an holds everything place. Except for this small accident nothing else happened so far.
Characteristics
| Wingspan | 845mm |
|---|---|
| Length | 405mm |
| Weight (without battery) | ???g |
| Channels | Elevon, throttle |
| Motor and propeller | Racestar BR2208 2600KV with 7x4 APC |
| ESC | Mystery Pentium-30A |
| Receiver | ??? (35MHz) |
| Battery | LiPo 2S 2200mAh/LiHV 2S 2800mAh |
| Modifications | Detachable wings |
-
Just grab the model, put a battery in, and throw it into the air. No long set up should be required to get it ready for takeoff. ↩
-
You never now with those beginners. ;-) And I hadn’t flown in the past five years either. But apparently it like riding a bicycle. Once learned you won’t forget how it works. ↩
Images